
Seal Applique
Overly ambitious raw-edge appliqué block for a Seaside themed group quilt
- Started: 9th Feb 2025
- Status: In Progress
- Procraftination Rating: Medium
- Palette: Muted Blues, Greys
- Techniques: Raw Edge Applique, Free Motion Quilting
The Challenge
I jumped at the chance to be involved in my local quilting group’s latest project—a collaborative quilt for this year’s local show. Naturally, this then involved a week of indecision, an alarming amount of time spent researching marine life, and the inevitable moment where I questioned all my life choices…
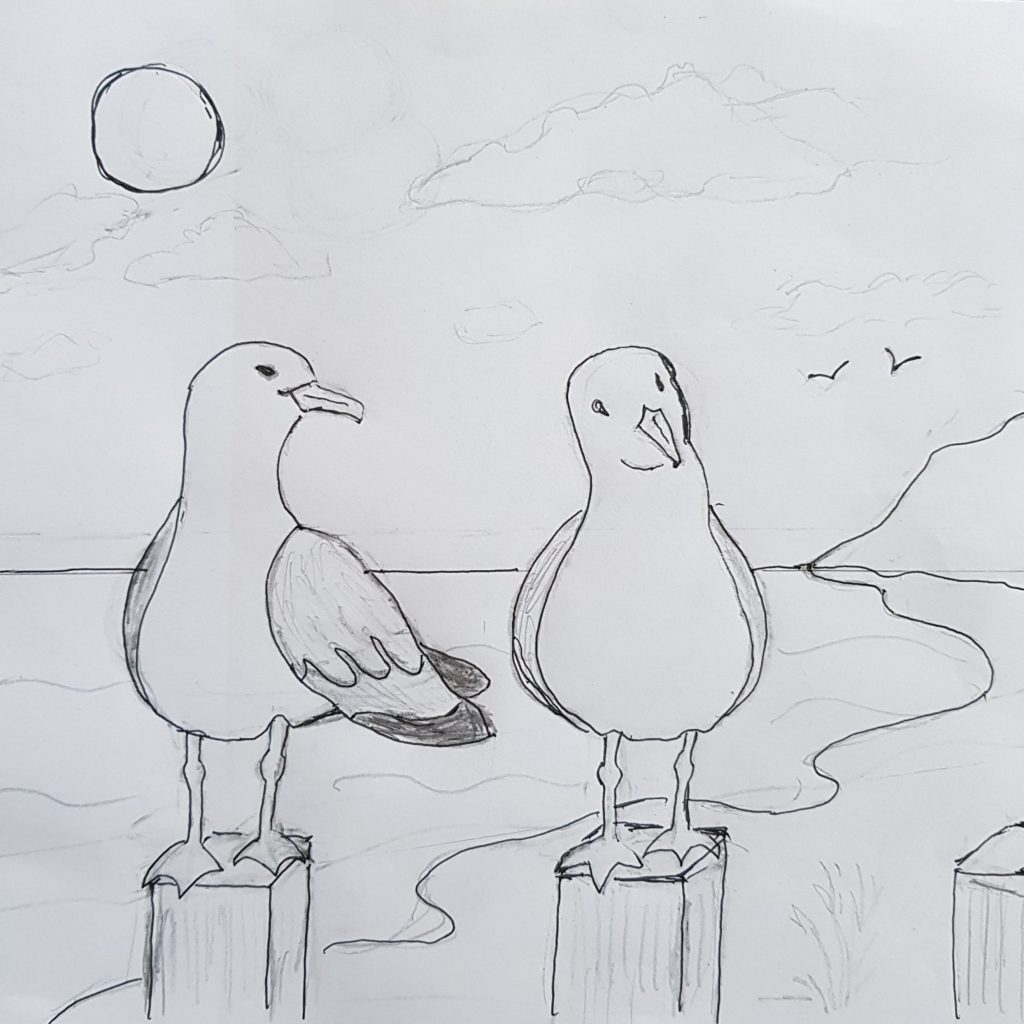
The theme for the show is A Grand Day Out and, after much discussion (and probably some tea-fueled debate), my quilt group landed on the most quintessentially British outing of all: a trip to the seaside. Armed with a 9 ½” square of blue background fabric and a list of classic coastal delights—think deckchairs, rock pools, melting ice creams, and the ever-optimistic flying of kites—we were sent on our way.
Within weeks, a lovely selection of finished blocks had already appeared (If you want to follow along and see the final quilt, you can check out the group’s website here). My block? Well… it started with good intentions. Then came the second-guessing. Then the questionable number of AI-generated seals. And, somehow a brief but regrettable jellyfish-related crisis.
Stage one: Planning
Having a Whale of a Time
The possibilities stage is my favourite part. There are so many cool ideas I’d love to try:
- I picture beautiful seascapes with sunsets and vibrant waves,
- I imagine colourful stylised light houses and beach huts in cute fabrics.
- I visualise a beach scene with beautiful patterned pebbles and shells with crashing waves in the distance.
- I picture a single, slightly wonky fish floating in the vast ocean… because I remember I am a complete beginner
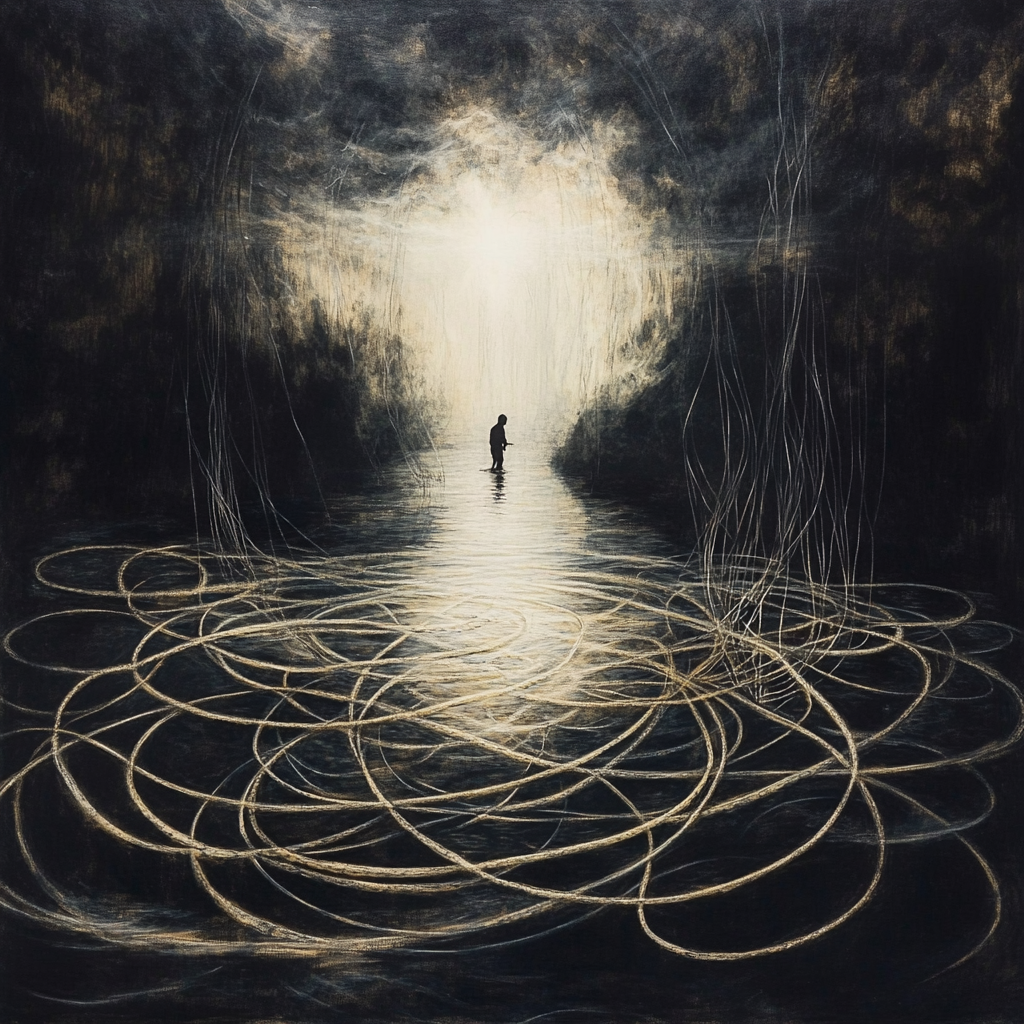
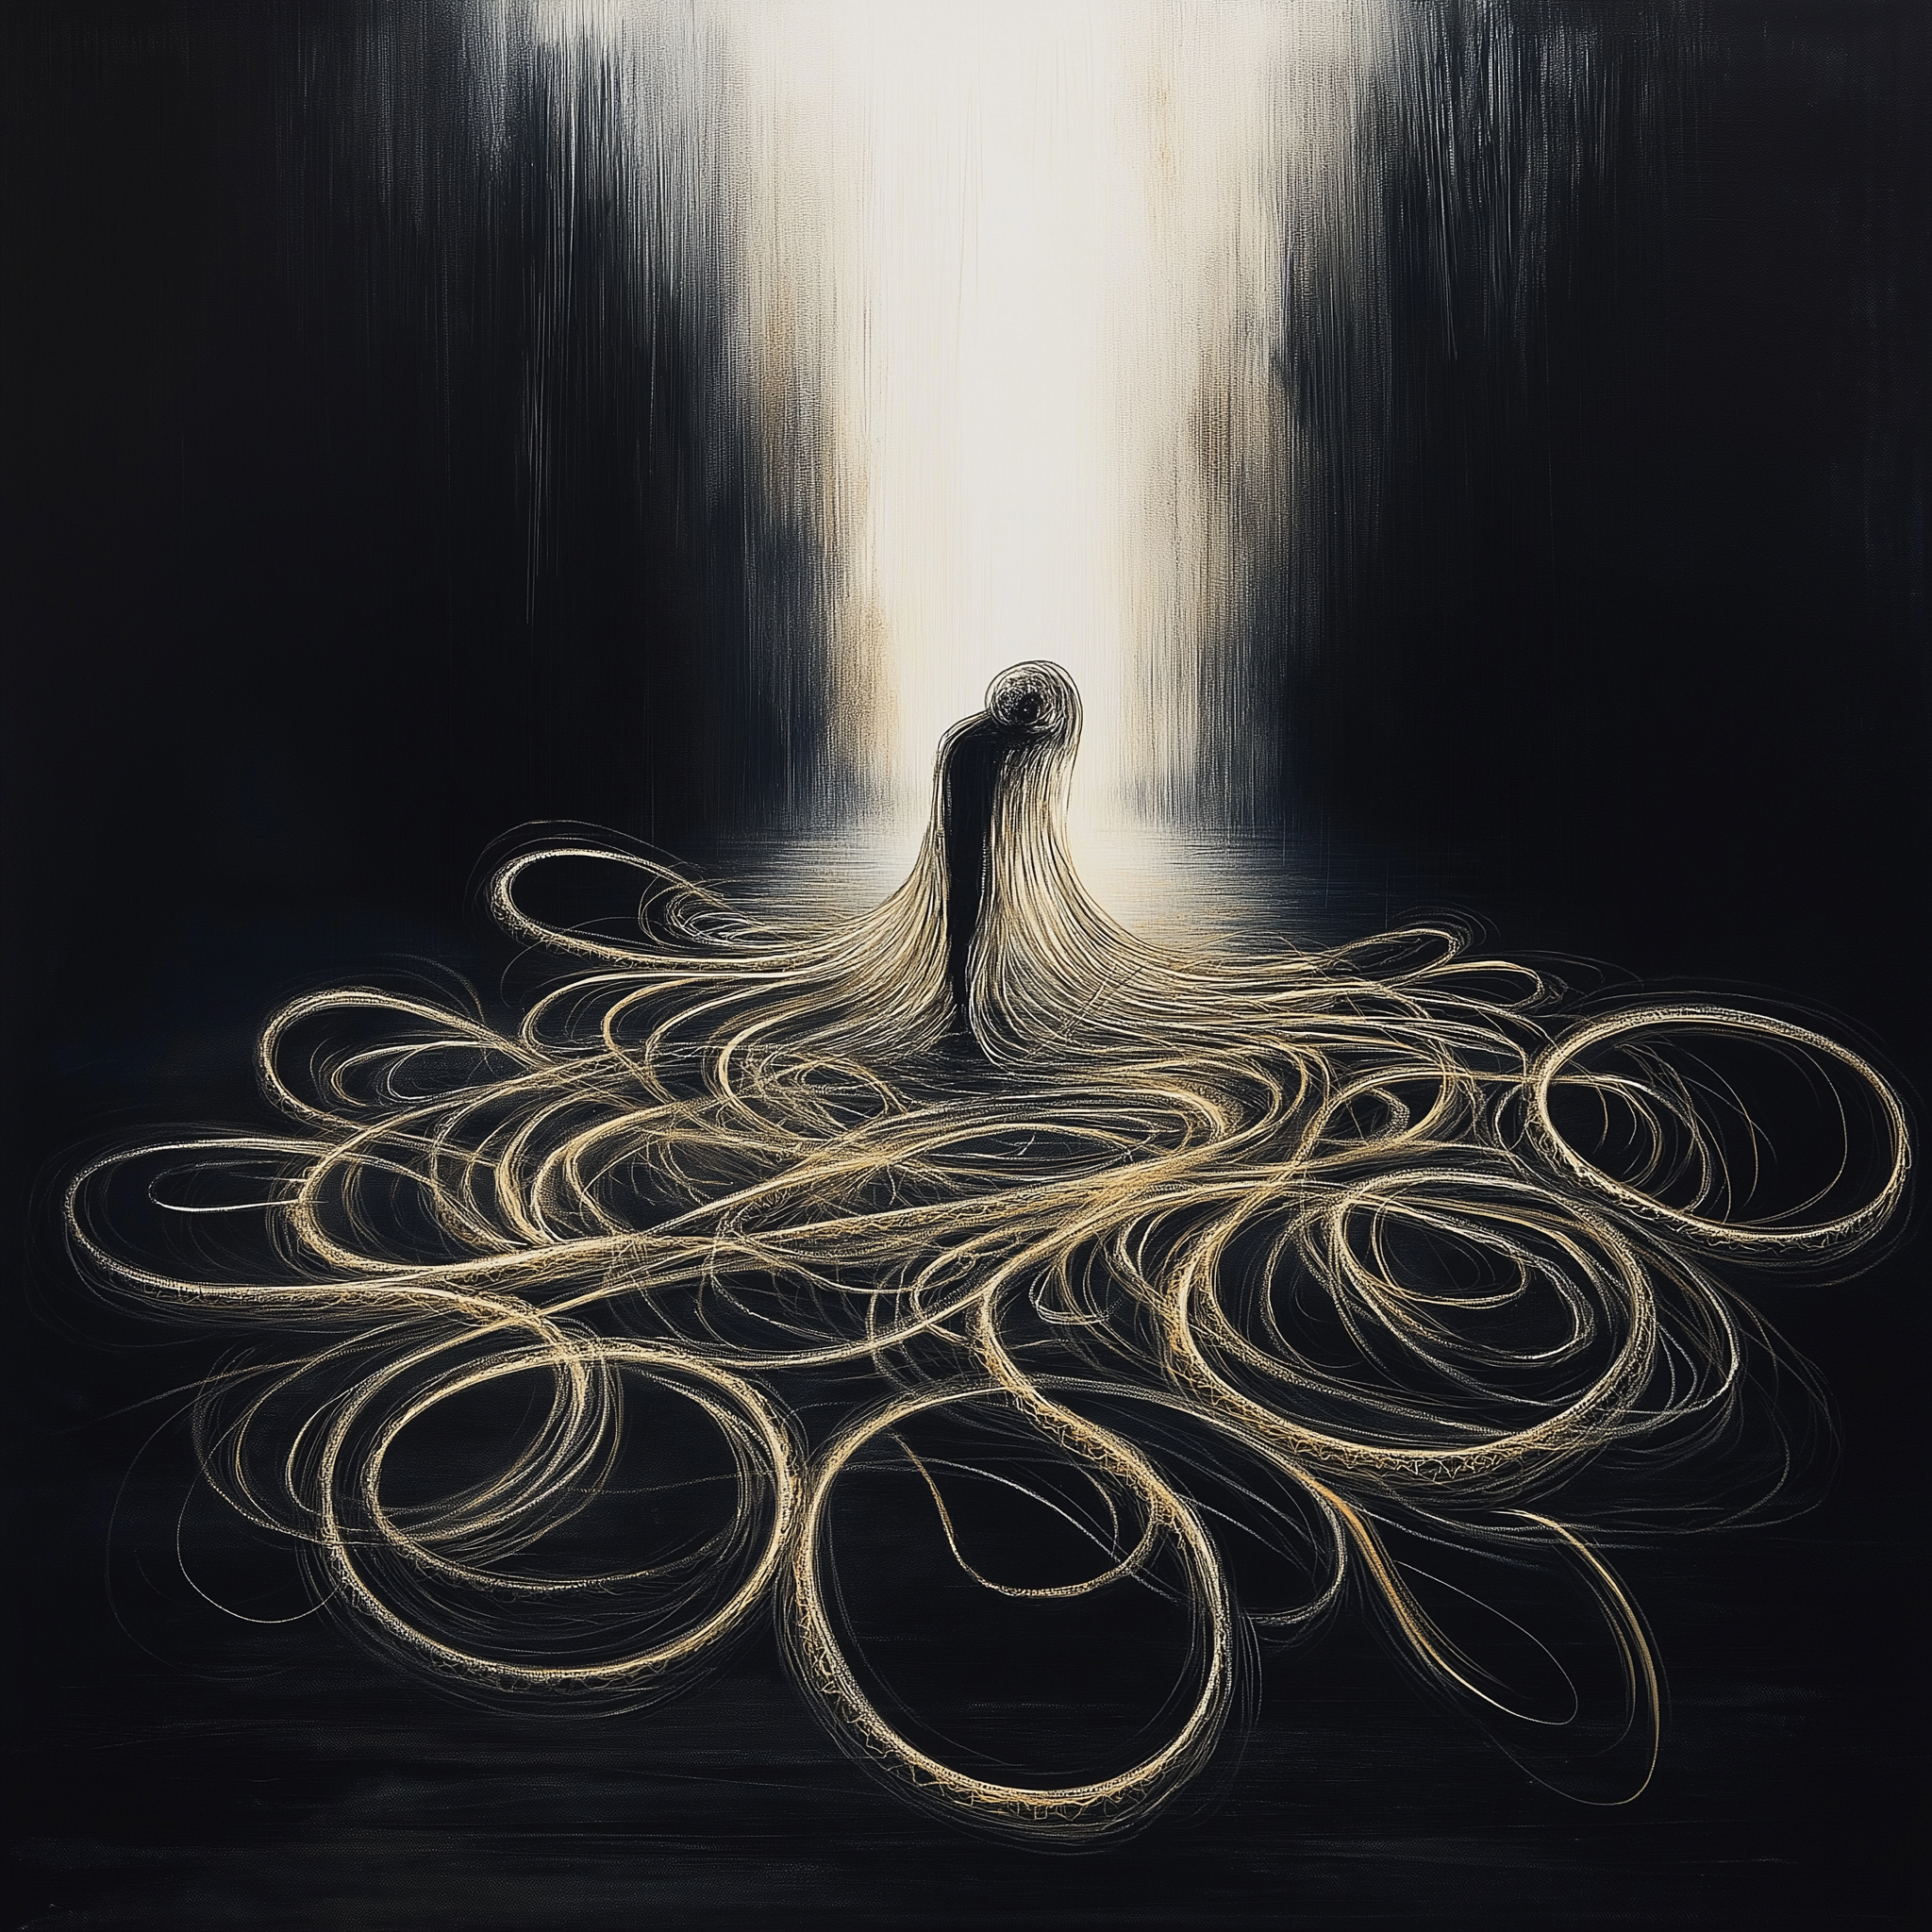
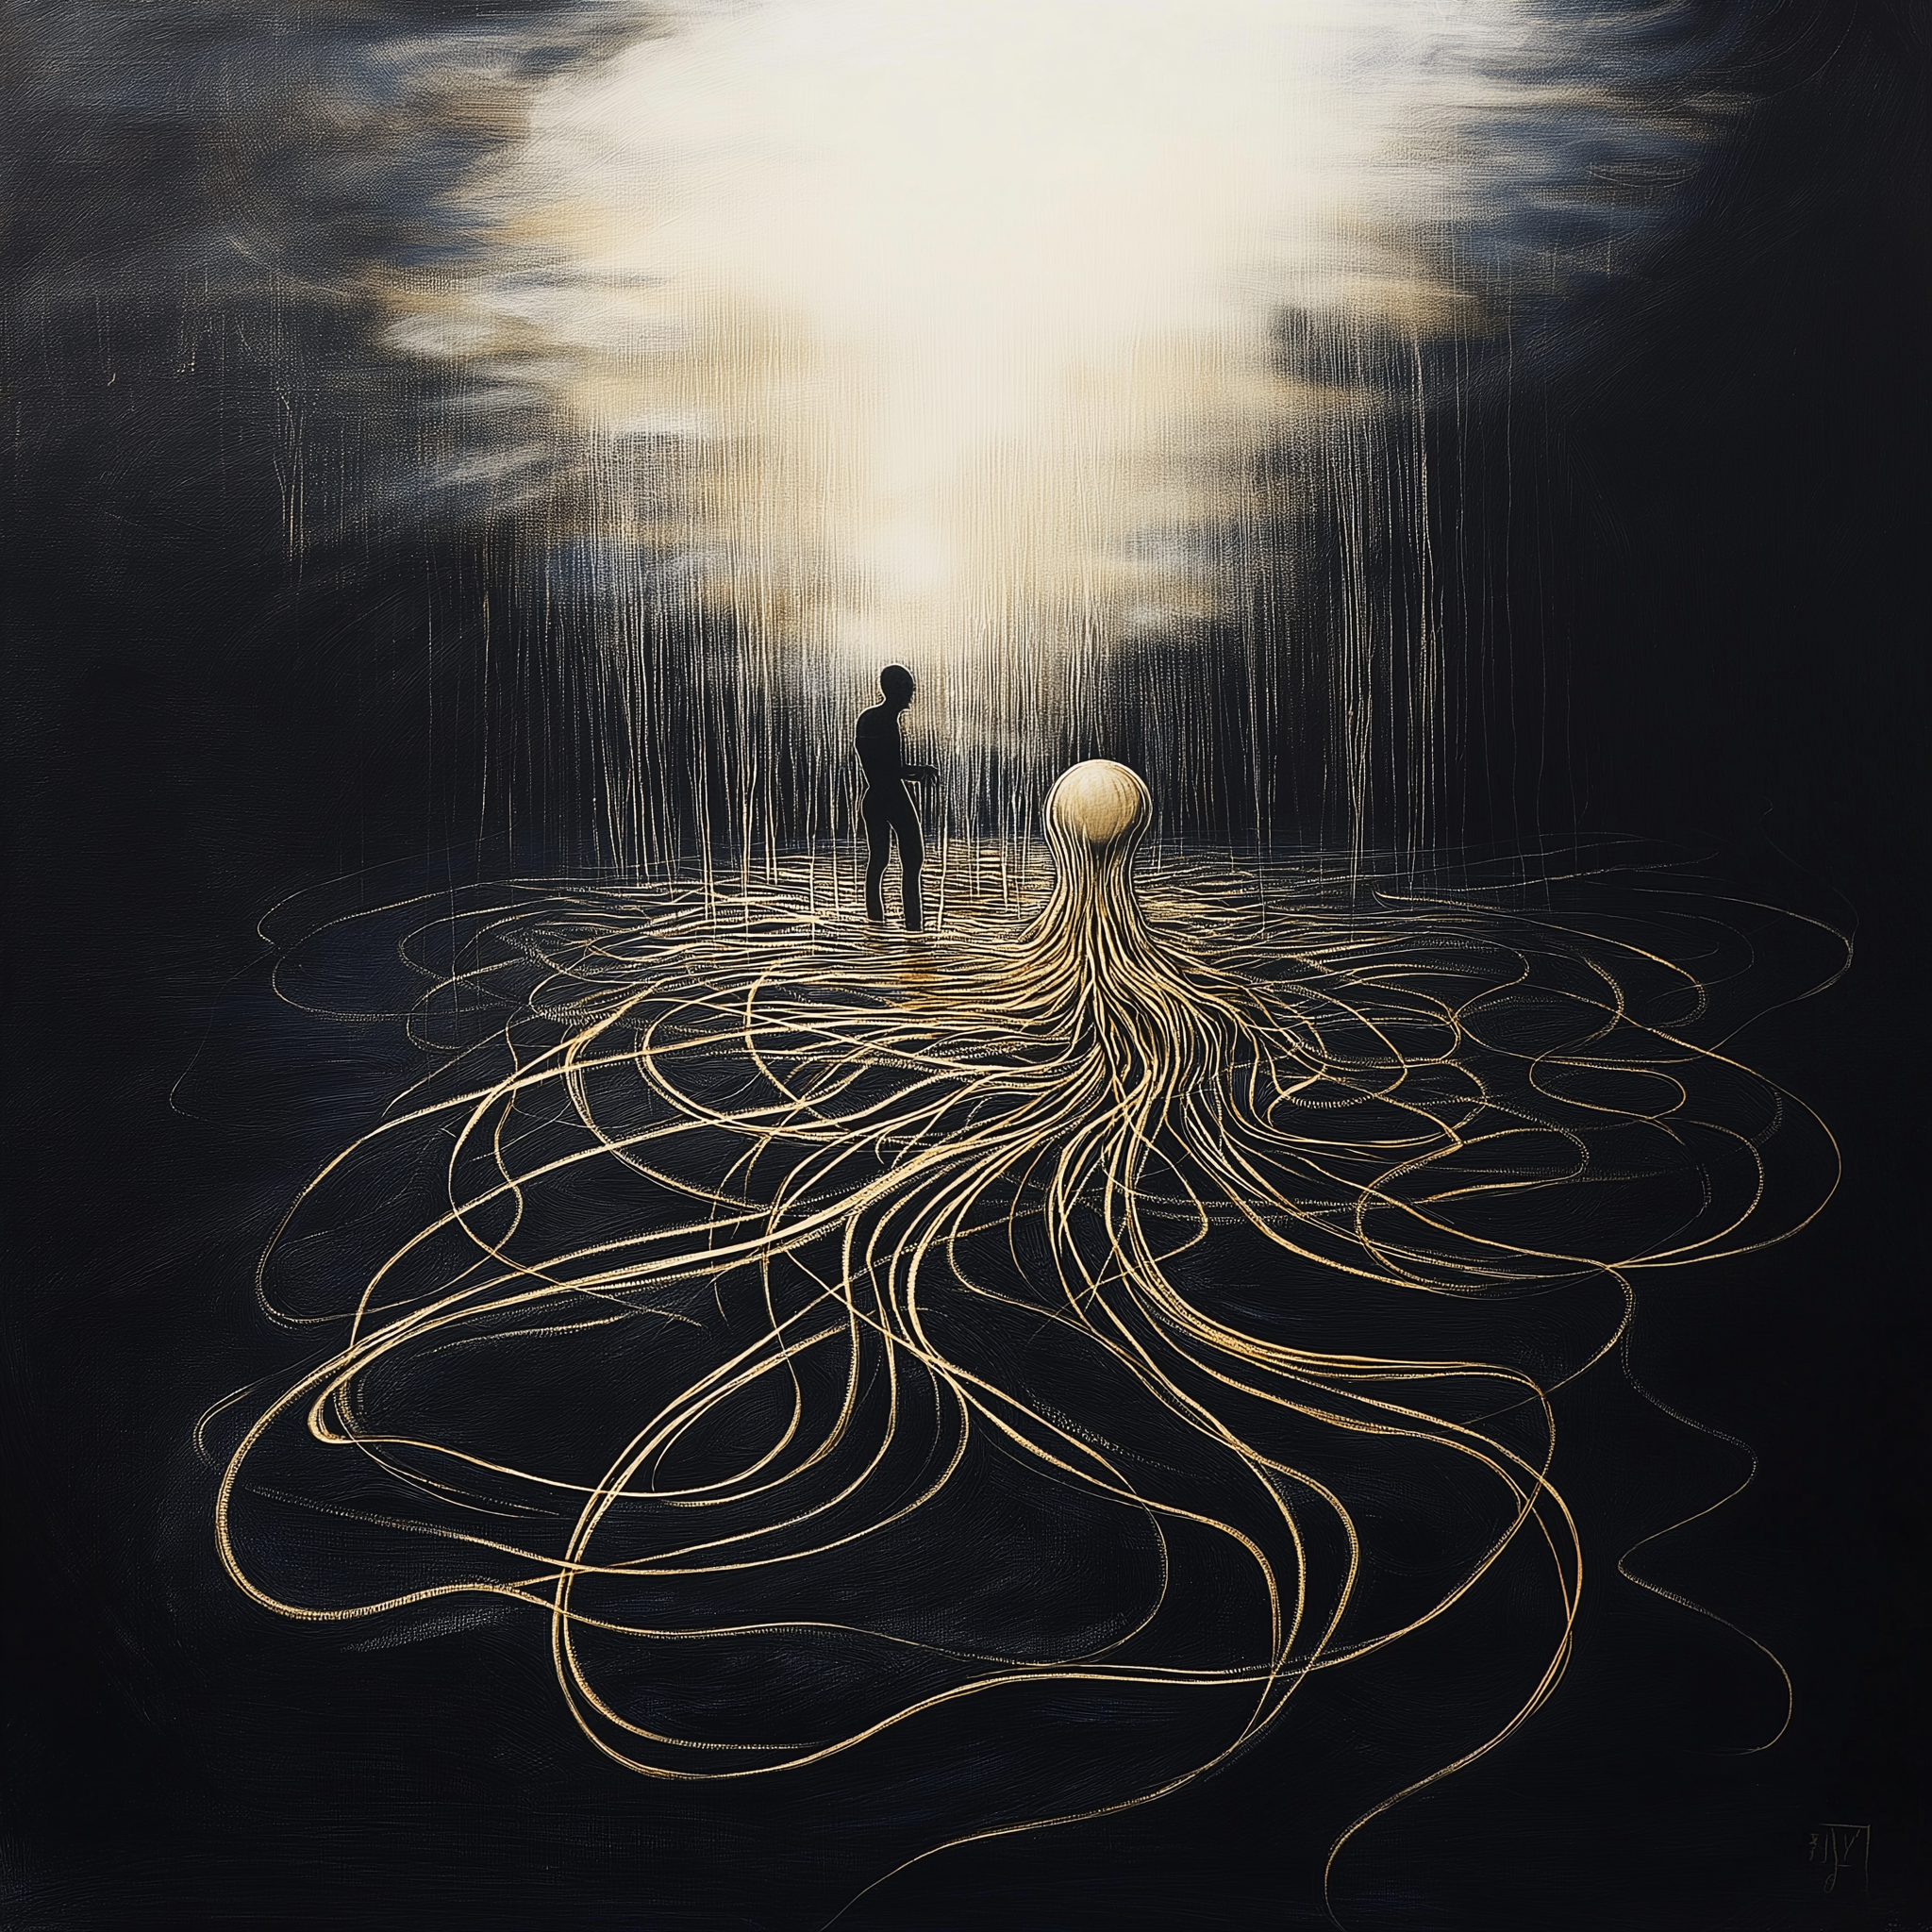
I flip flop between these potential ideas for a week before settling on a lovely (and beginner appropriate) whale idea, I can clearly see the design in head and I get very excited. It’s an underwater view of a massive whale and bobbing above it on the ocean surface is a tiny colourful boat. Almost like the jaws poster but much less terrifying. Curious to see my original vision and a digital masterpiece that makes it rather clear why I chose photography over art? Click here to gaze upon its misshapen glory.
A small oversight
Full of excitement I talk to my mum – who points out the theme is really ‘British sea side’ and we don’t exactly have many blue whales lurking around our coasts.
She suggests maybe a jellyfish.
I wonder if it’s possible to create a cute jellyfish?
I google images of British jellyfish,
I instantly regret my decision and have a flash back to a horror story I accidently read last year (Click here if you want to be traumatised too…)
I decide I don’t really fancy making a Jellyfish.
I go back to the drawing board and flip flop for a few more days between various UK appropriate marine life.
A final 'final' decision
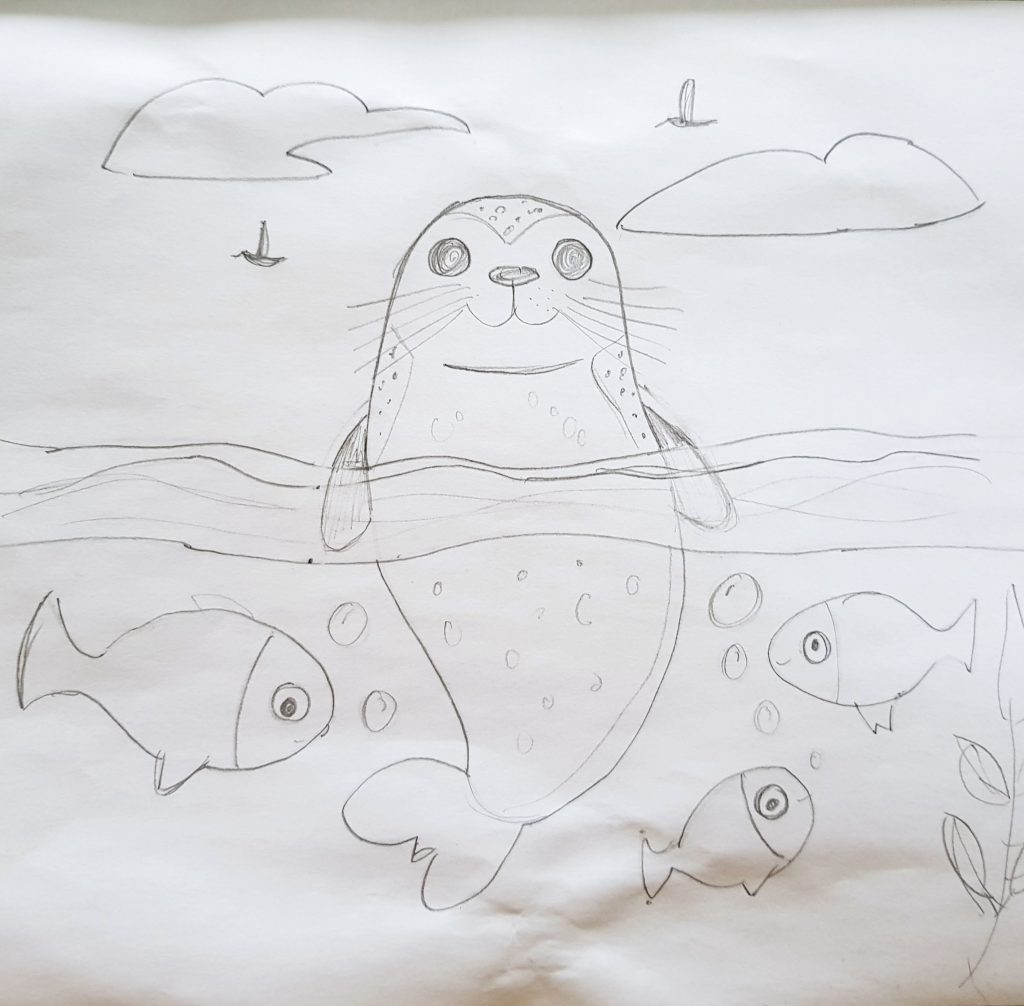
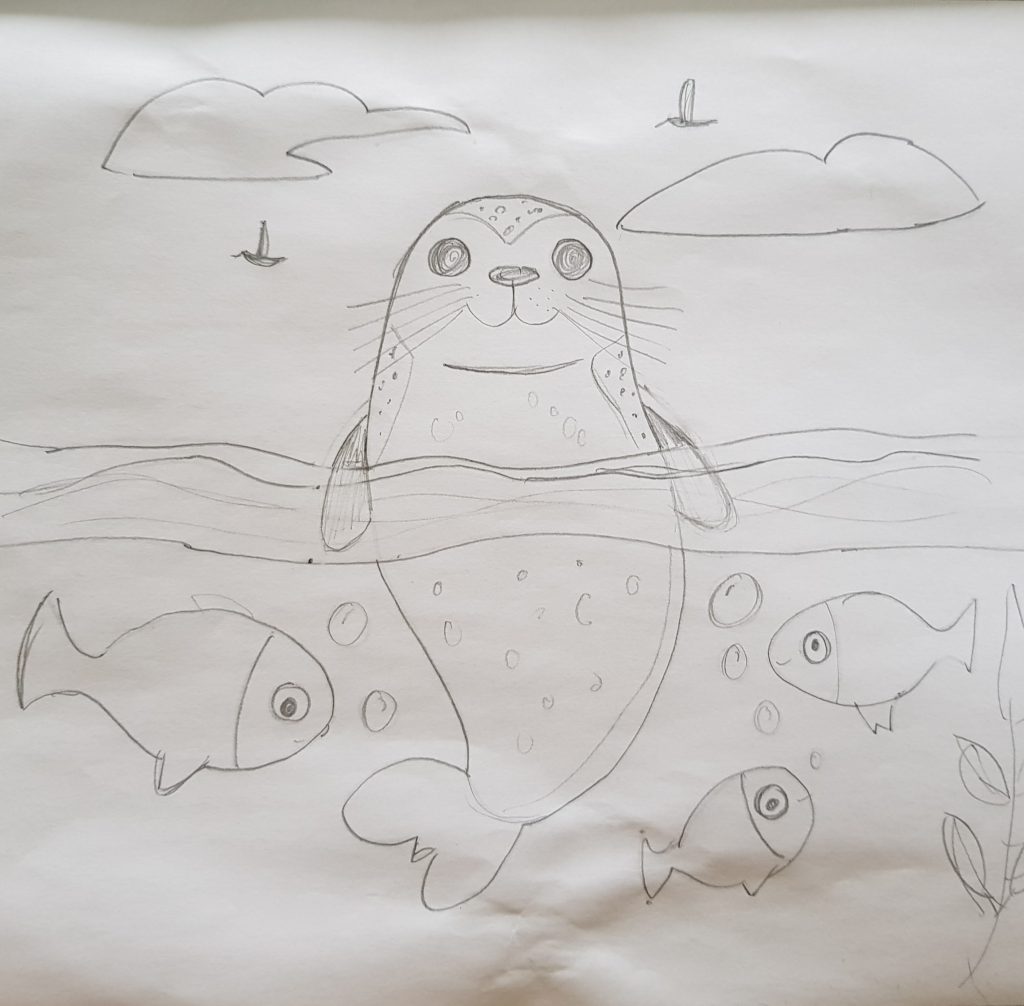
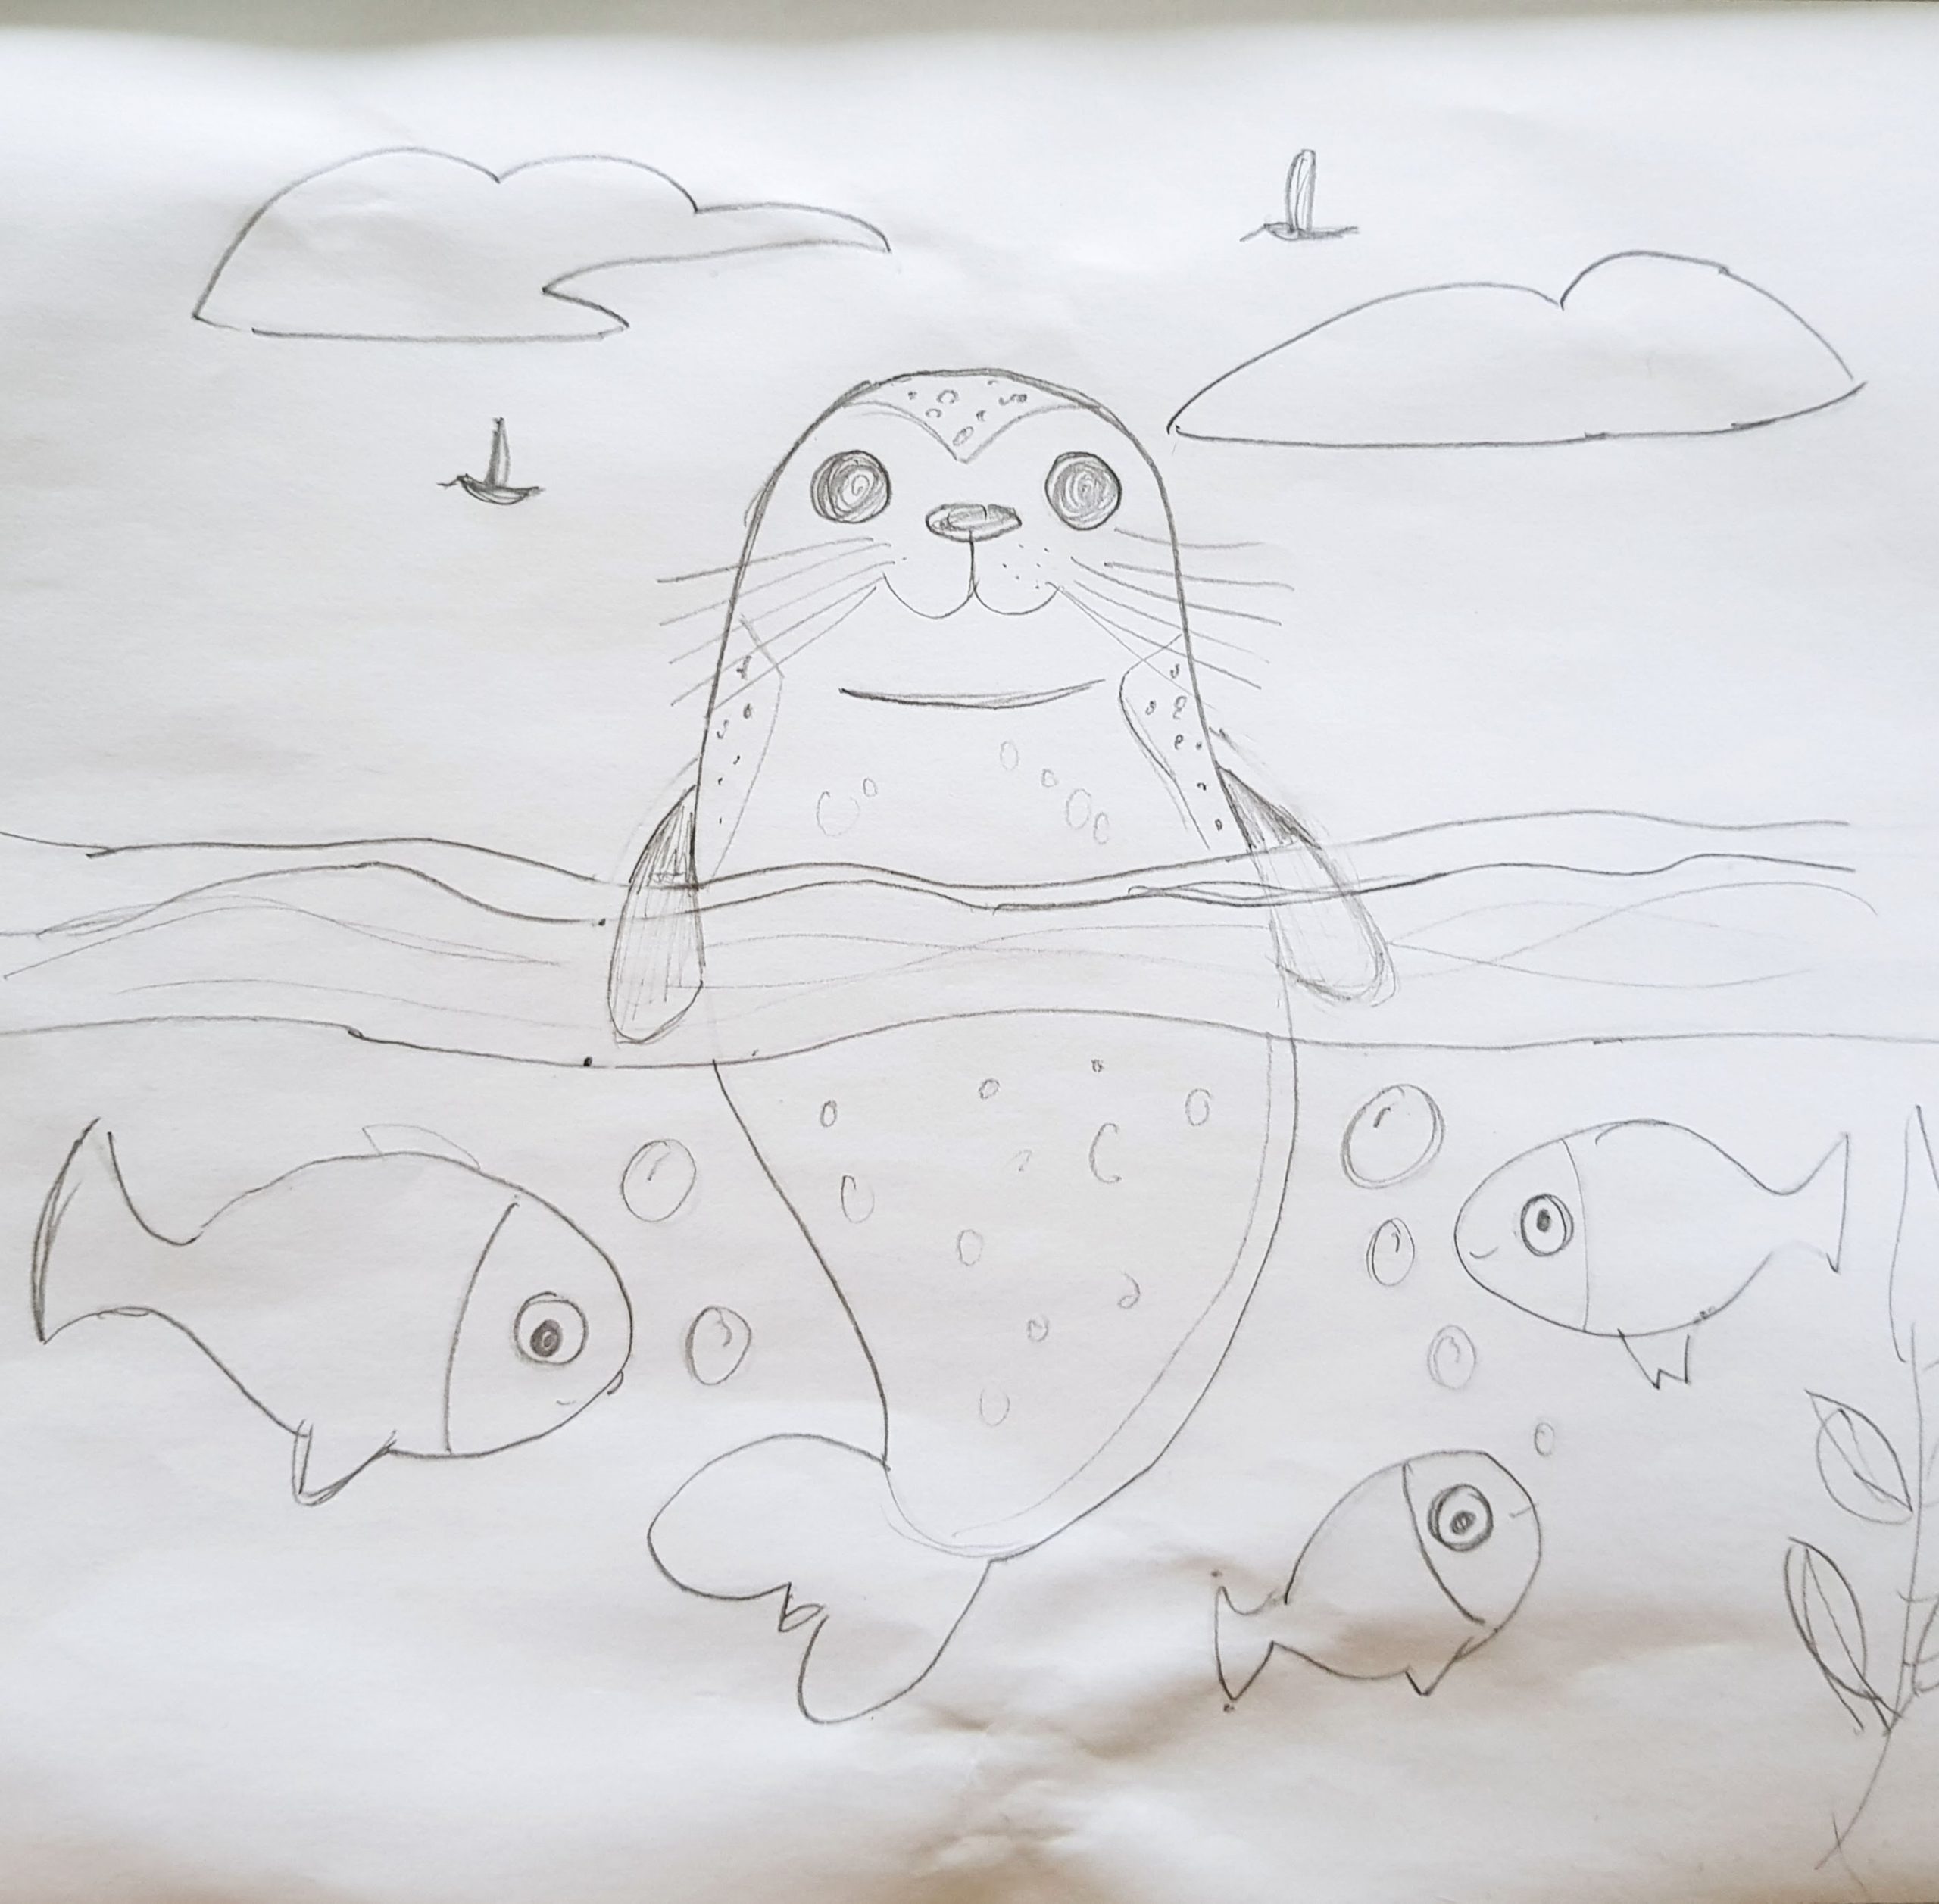
I finally decide on a Seal; thinking back to times I’ve seen them in the wild and enjoyed looking out for their faces popping out of the water and I use this as my inspiration.
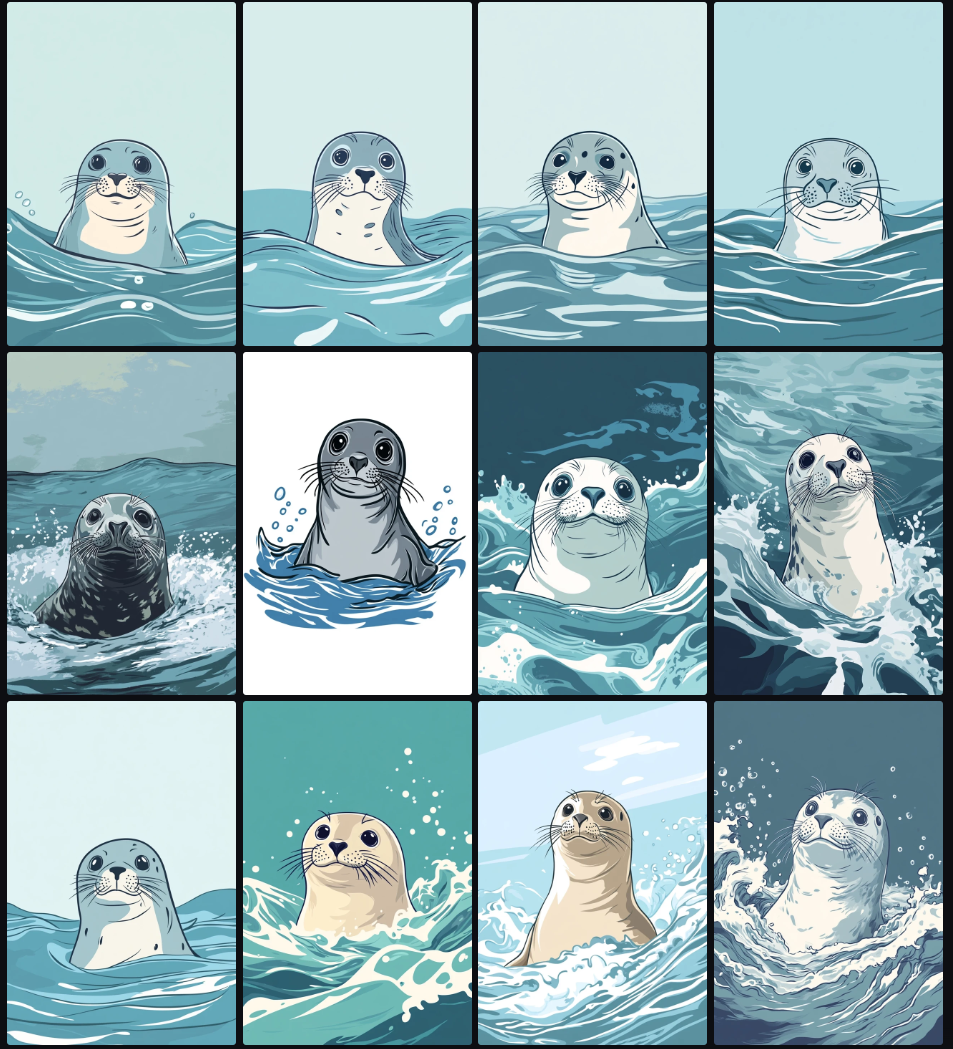
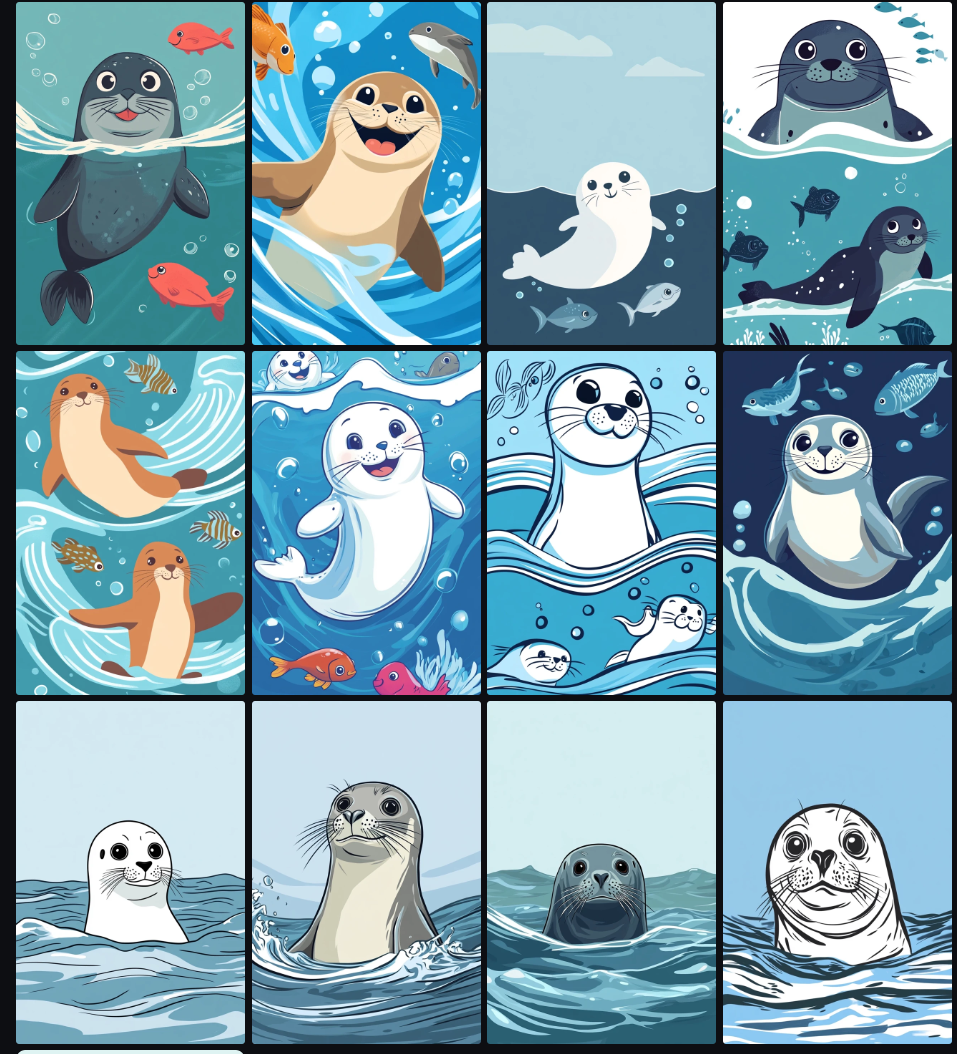
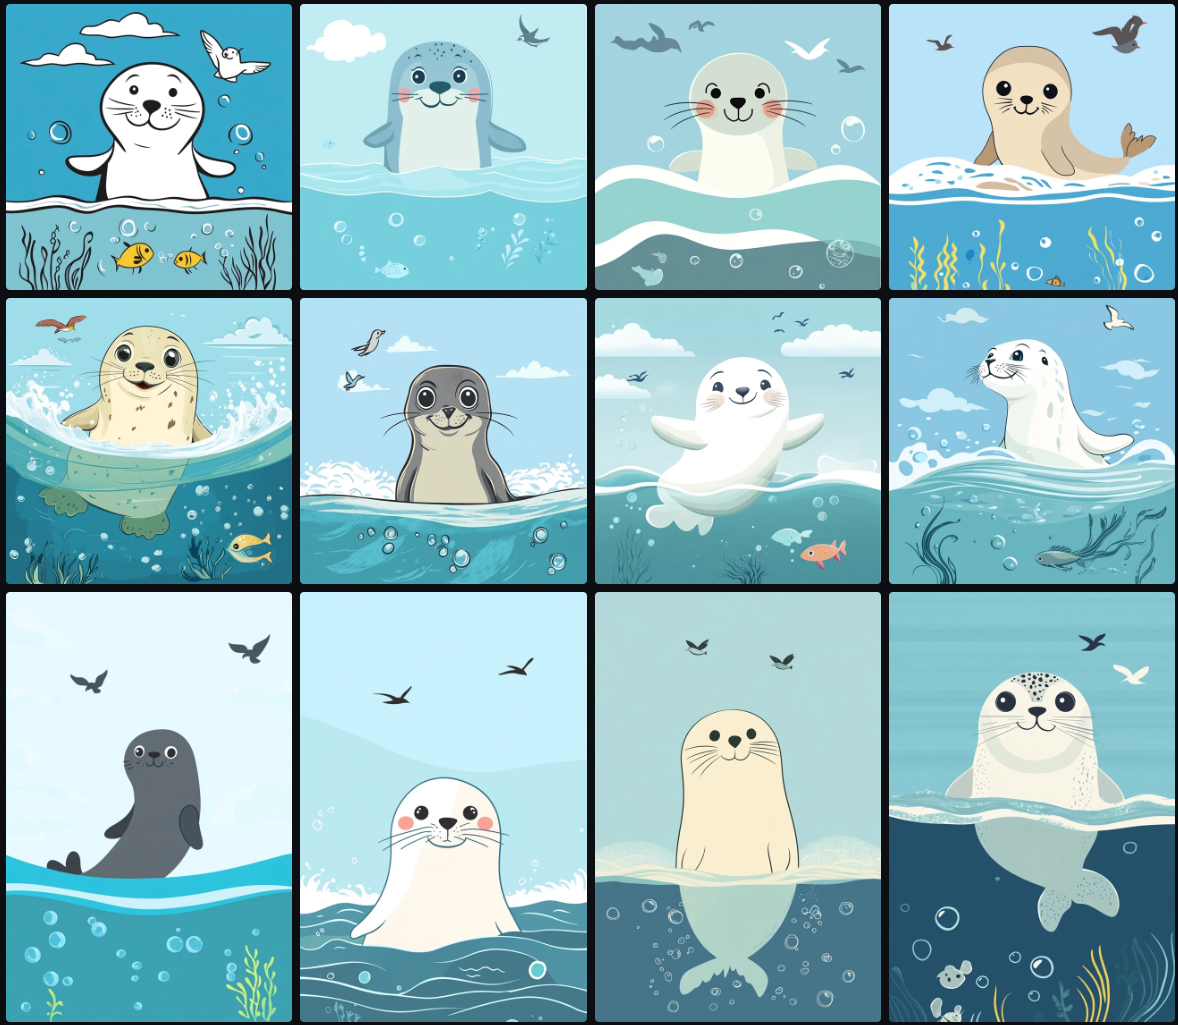
I remember I can’t draw (see terrible whale image above), re-subscribe to midjourney and get distracted for the night exploring more ideas then I could ever make.
Eventually I generate a cute image of a seal I think is beginner applique friendly and decide that’s my plan.
Change my mind the next day and make another 20 images before deciding I have actually found “the one”.
Realise it has no flippers, sigh, decide just to take them from another image and while I’m at it get some fish too.
Get excited again about how cute it could be and go to show my mum.
Inadvertently see my mothers amazing design sketch for her block and decide I should probably give up crafting forever and just become a professional cheese taster.
Stage two: Preparation
With my inspiration image finally decided on it’s time to get together my supplies and get the design ready to use.
From AI to Appliqué
I start by resizing my inspiration images in Photoshop, only to discover that UK paper sizes and my 9-inch block have irreconcilable differences.
Instead of addressing this like a sensible person, I just completely ignore it and trust that Future Me will sort it out with a few extra waves, clouds, or whatever else will fill the gap (good luck future me!)
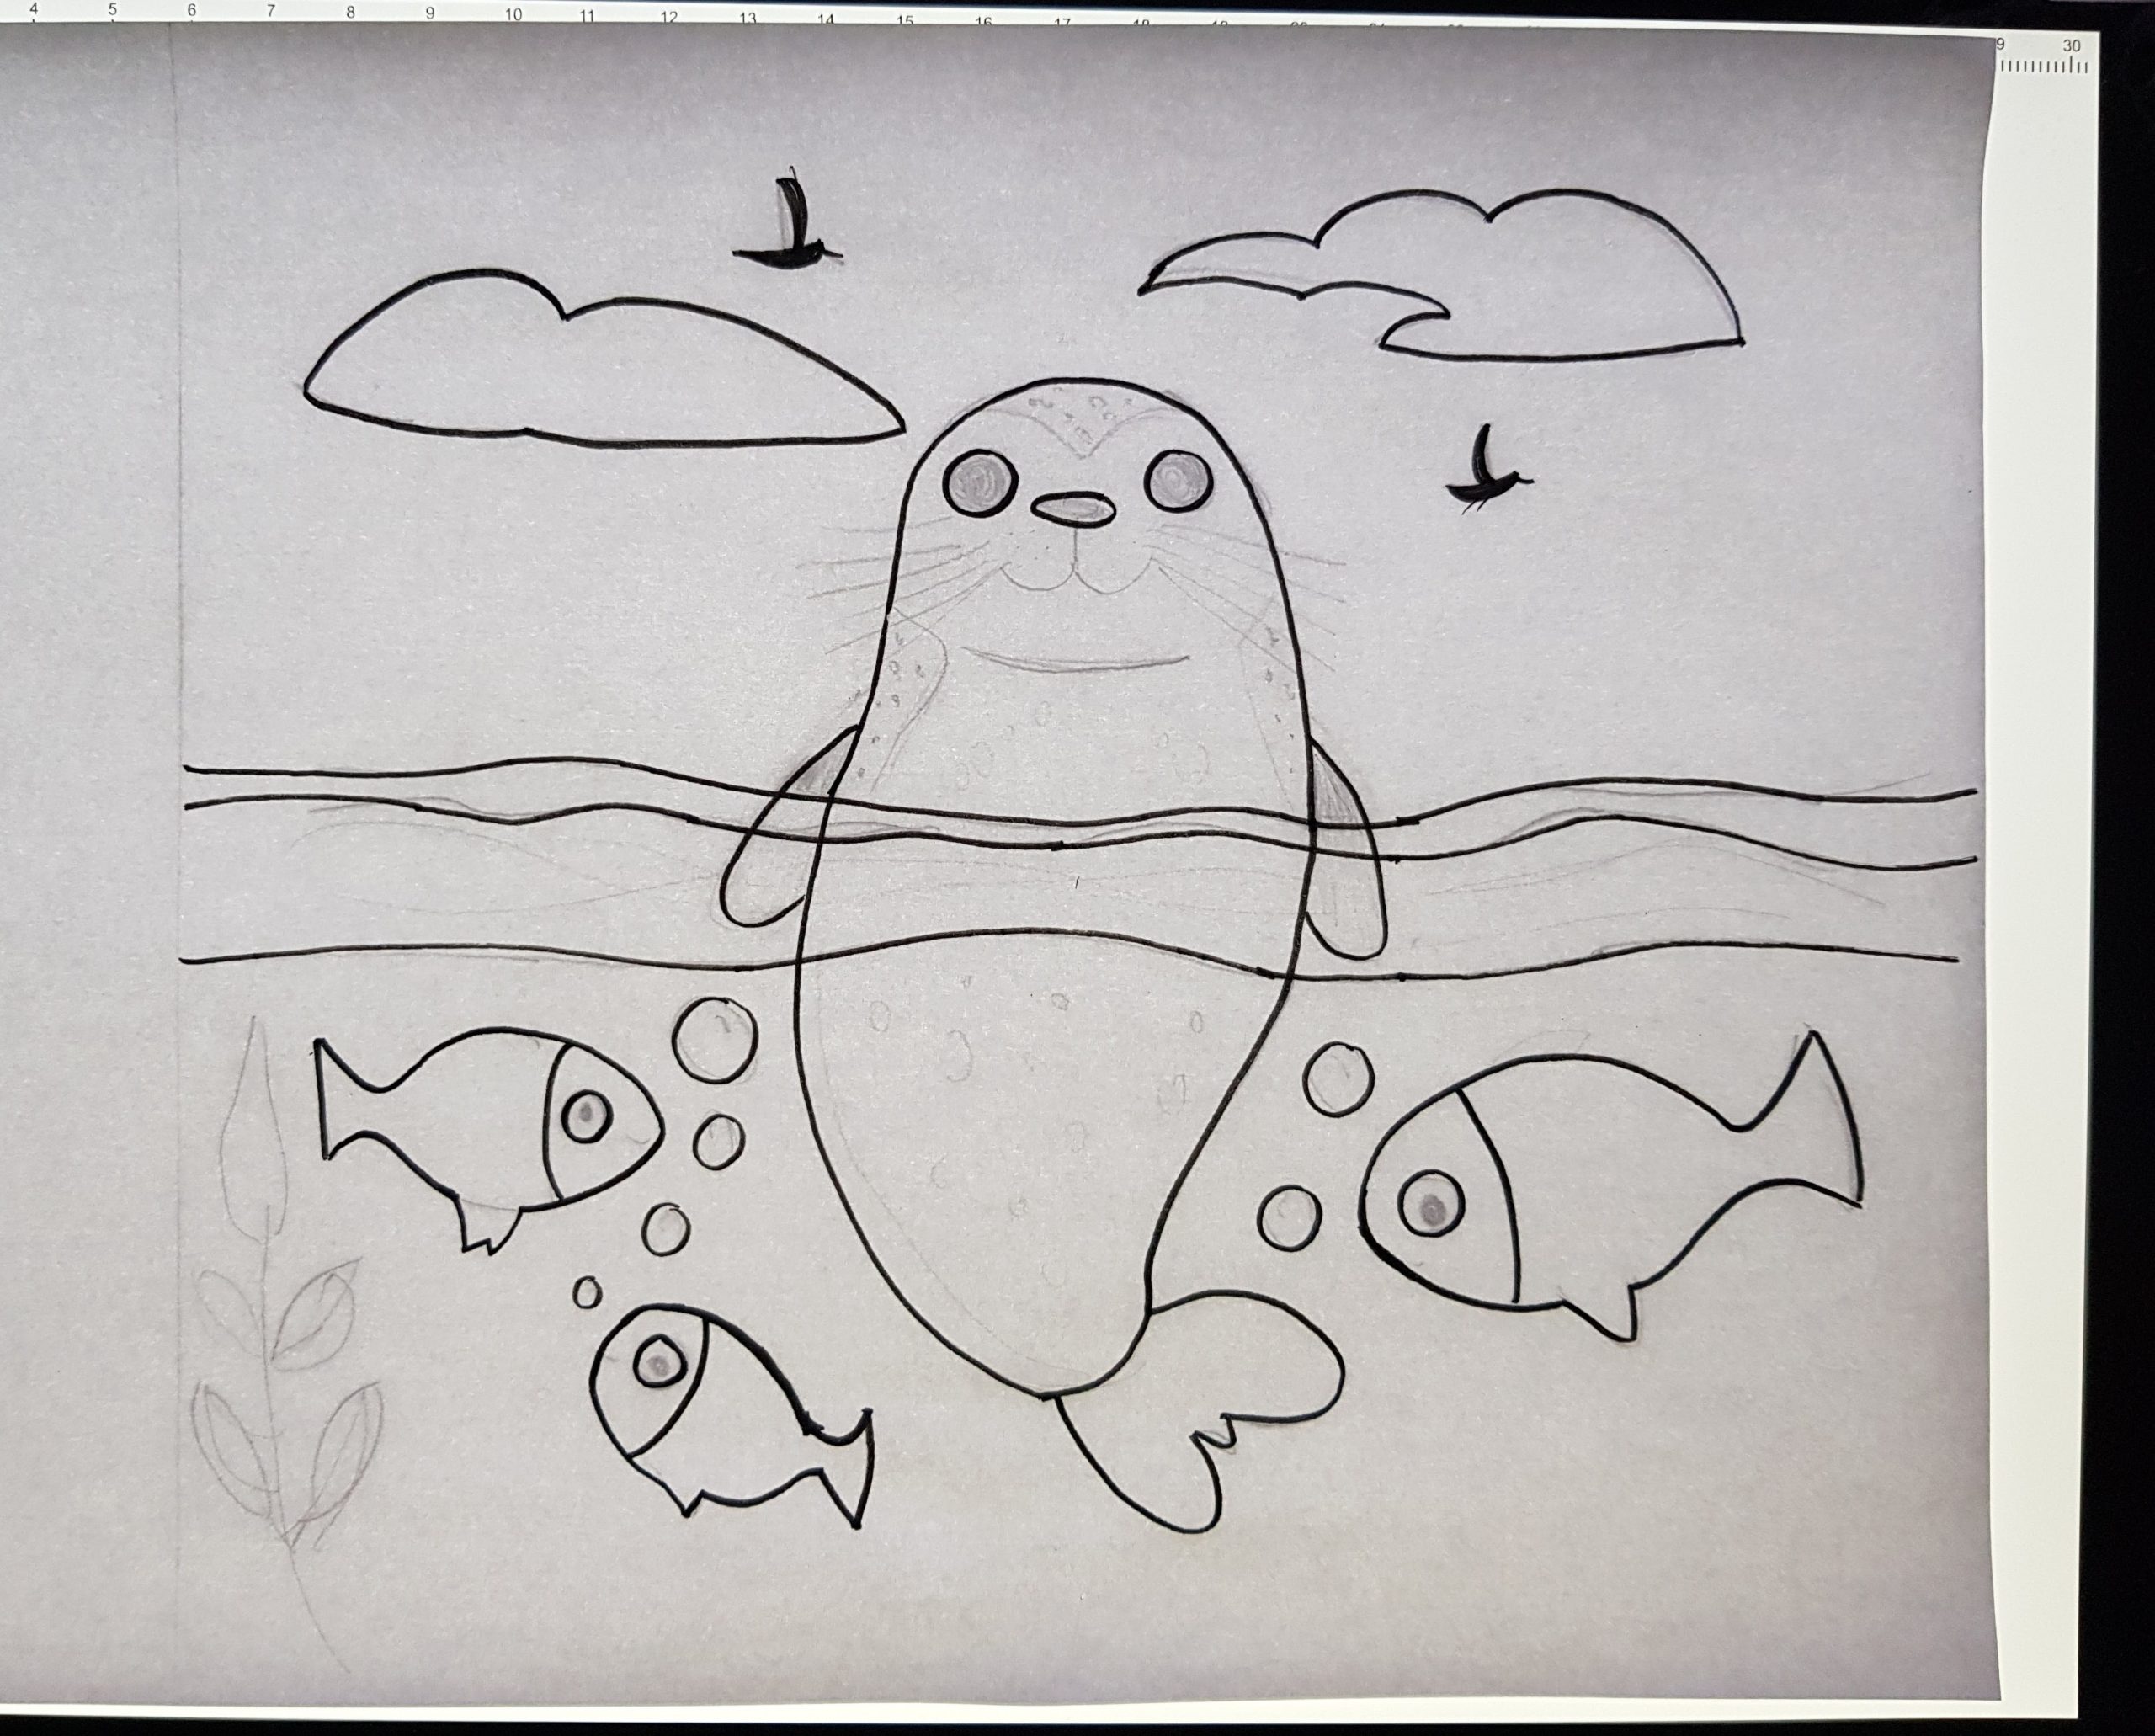
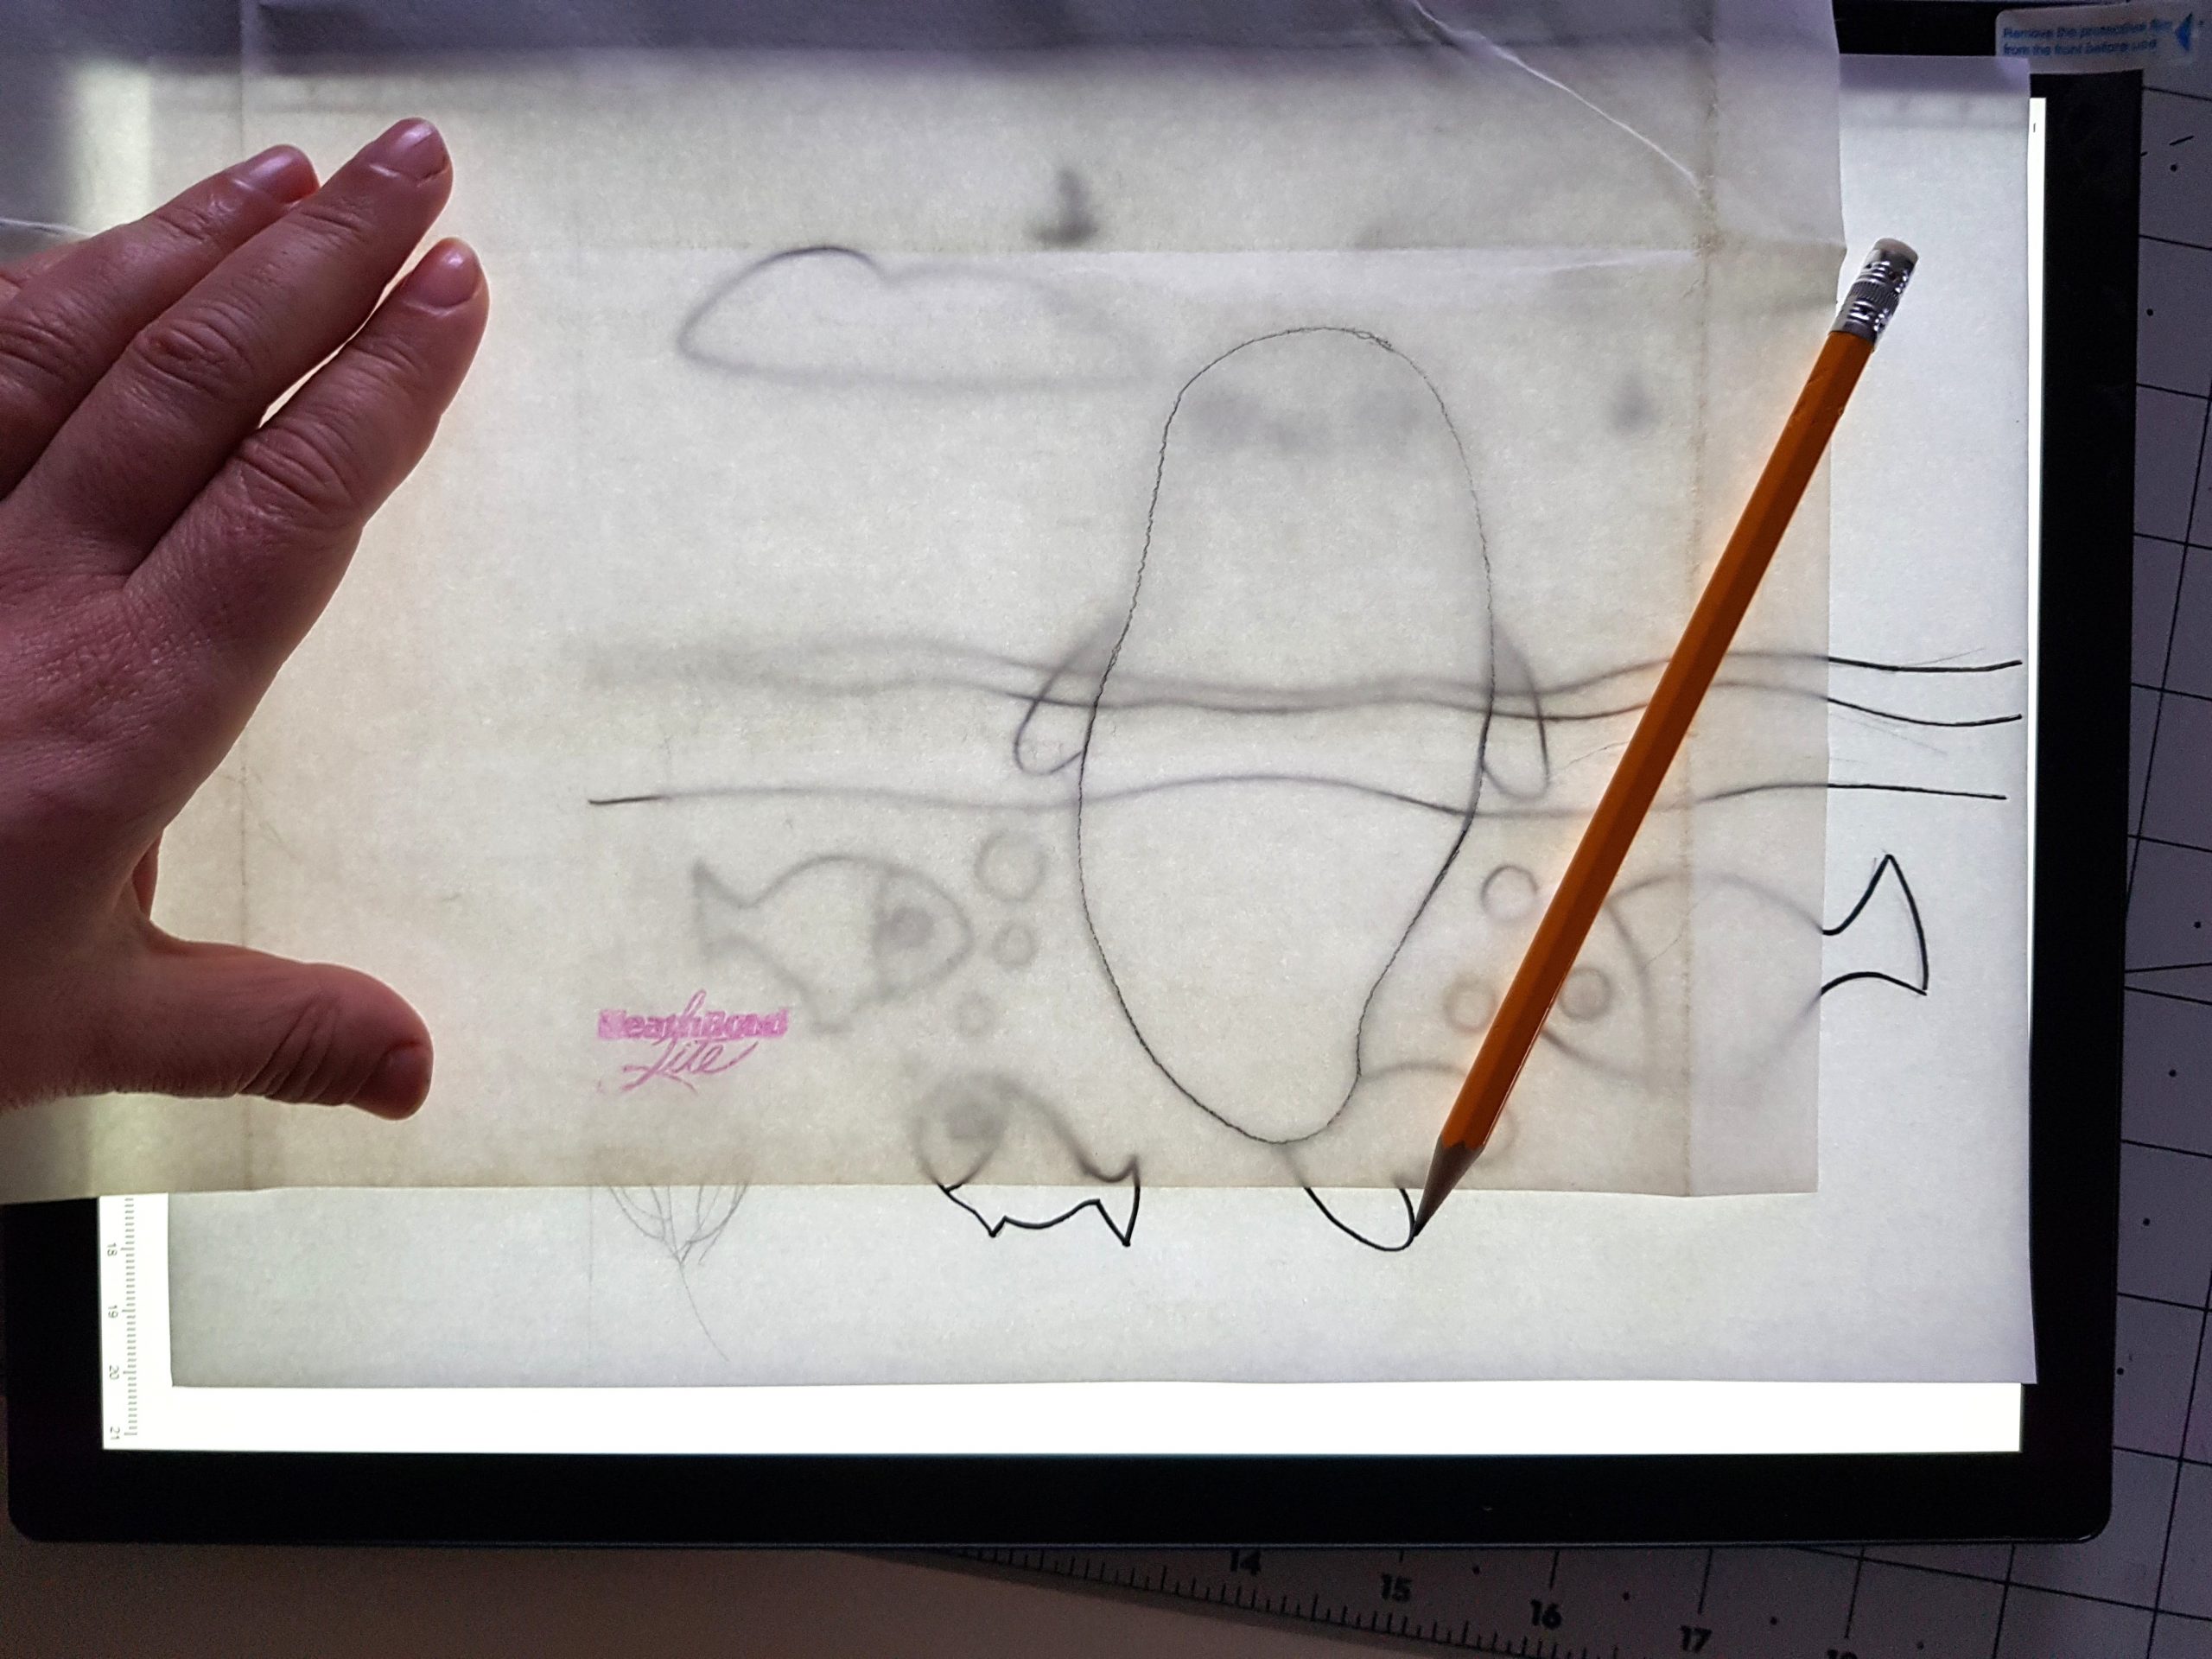
Once printed, I retrieve my long-forgotten lightbox (an artefact from a brief flirtation with hand-stitched illustration that resulted in one half-finished building design and the realisation that hand stitching clearly isn’t my thing). Debatable investment aside, it proves unexpectedly useful as I trace and mash the three designs into something approaching coherence.
Fabric Selection: The Time-Consuming Art of Ending Up Where I Started
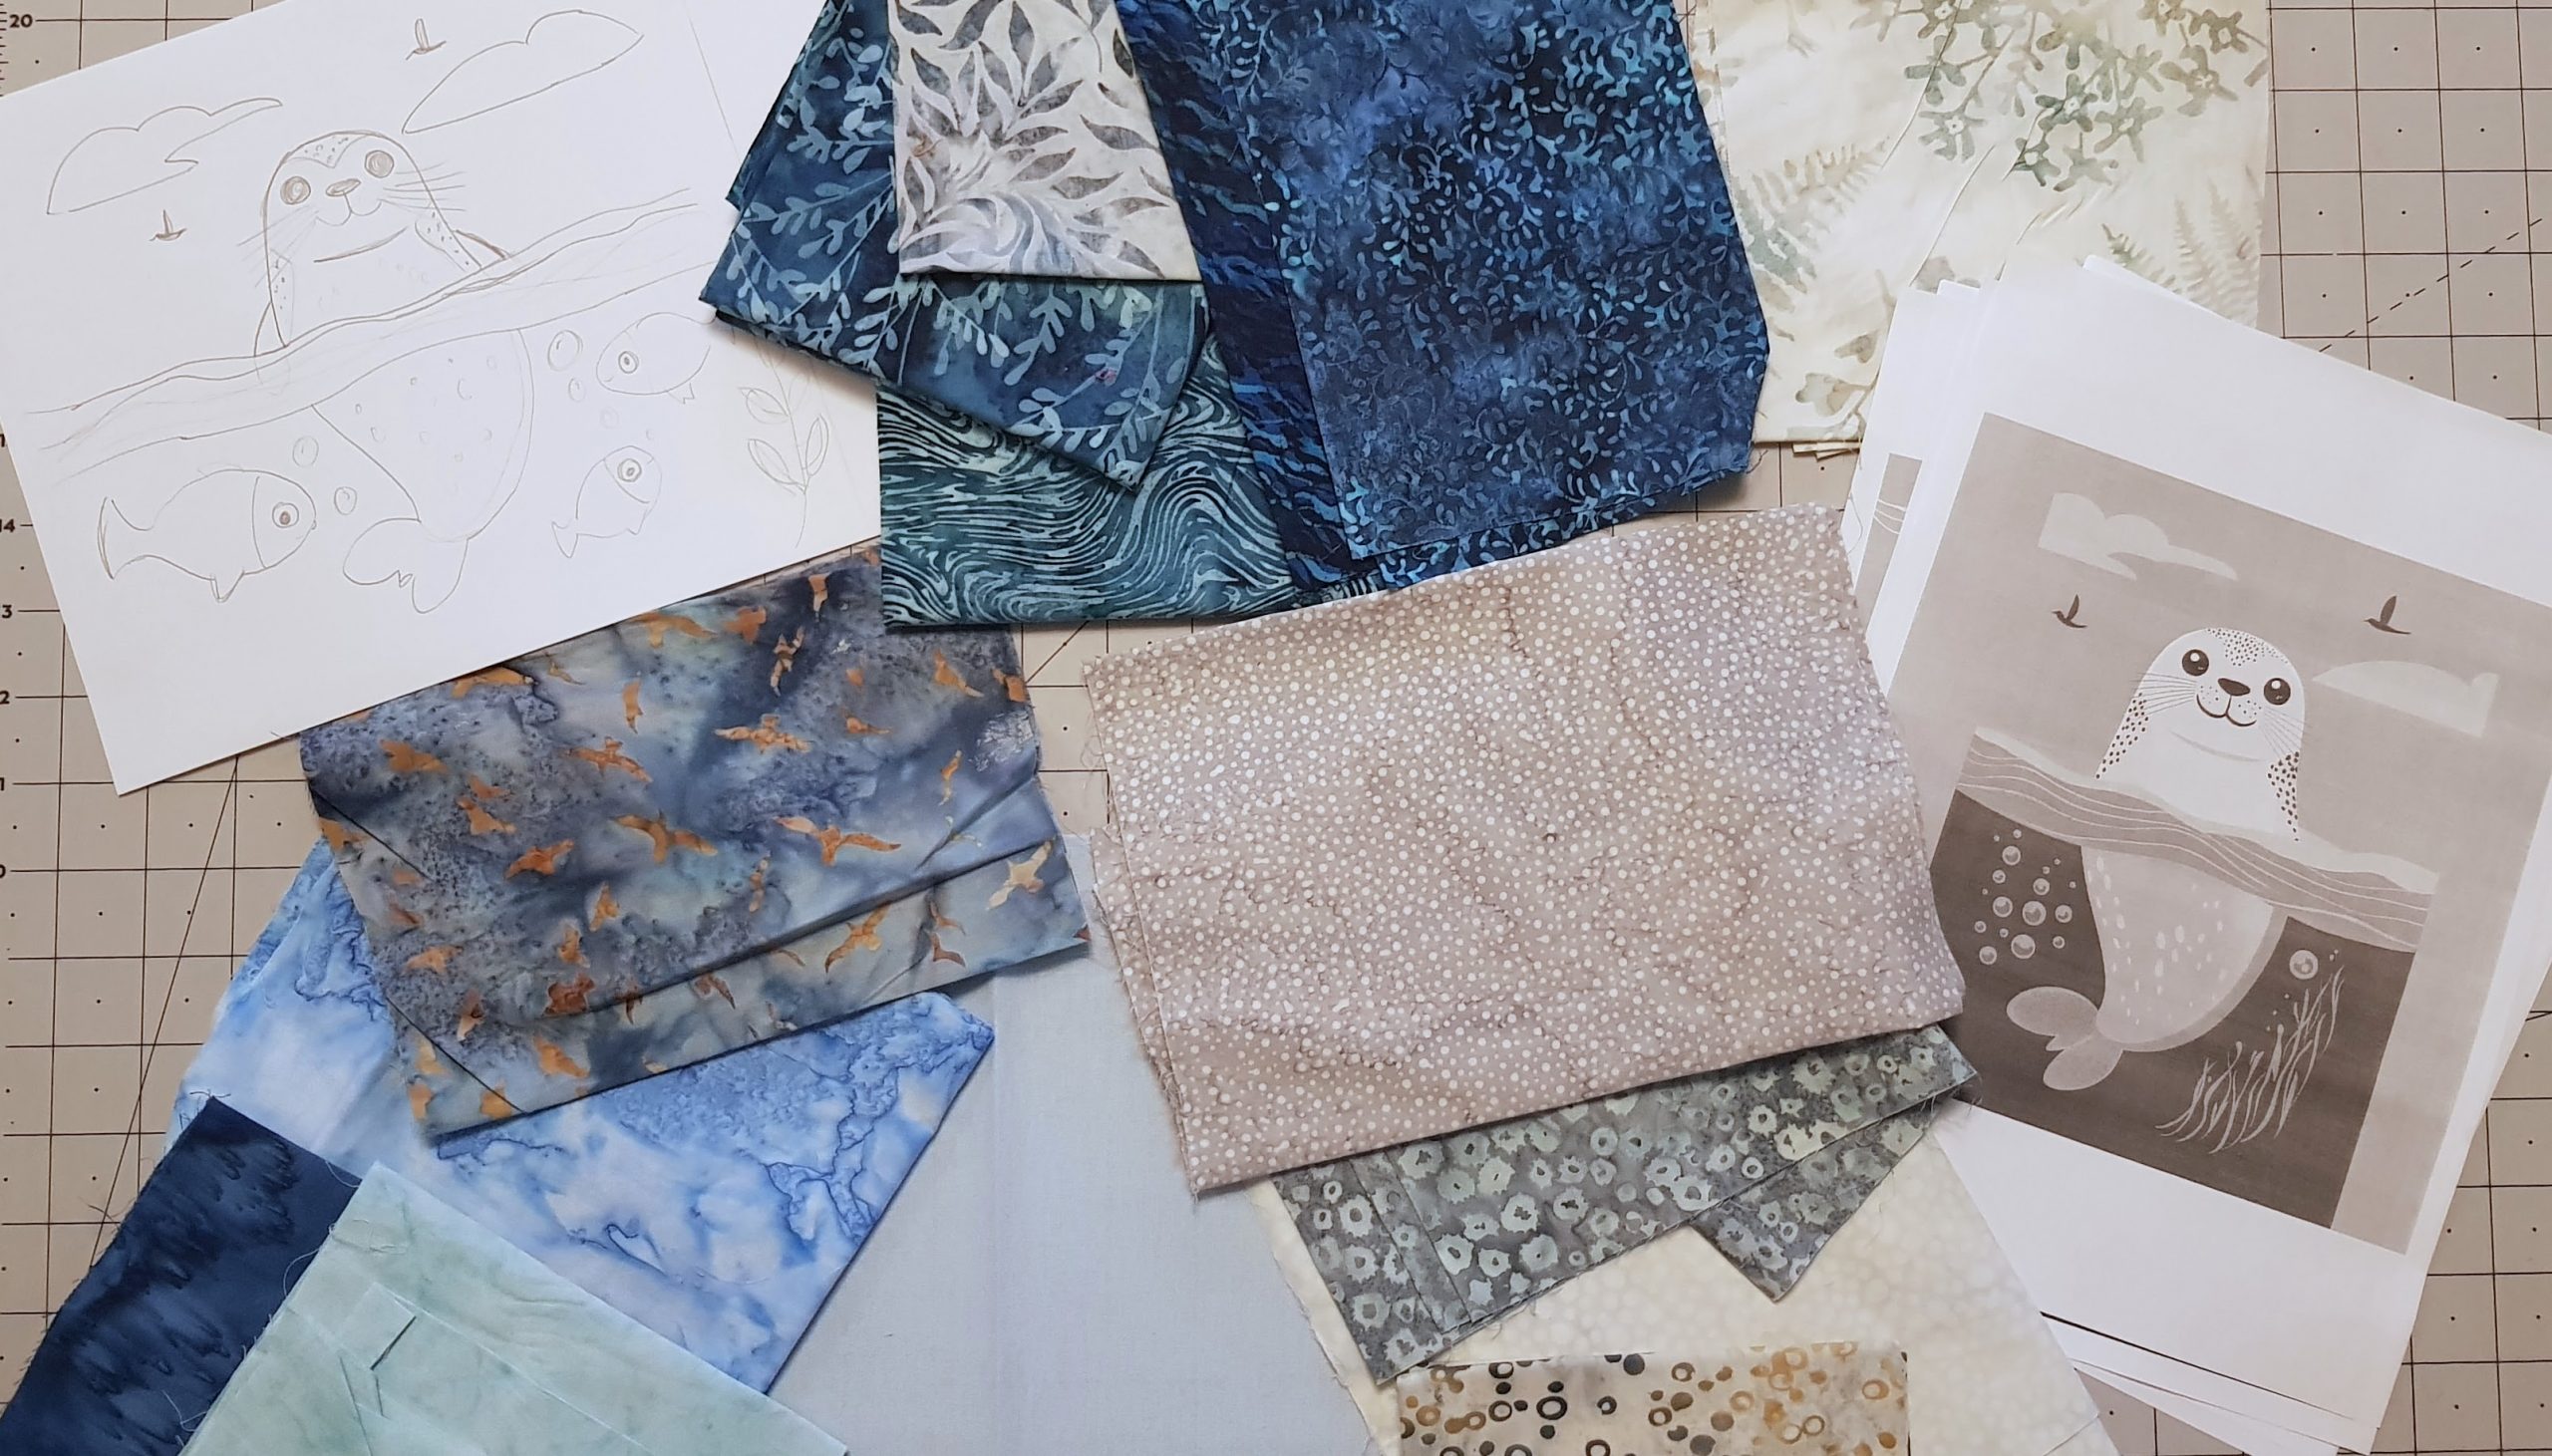
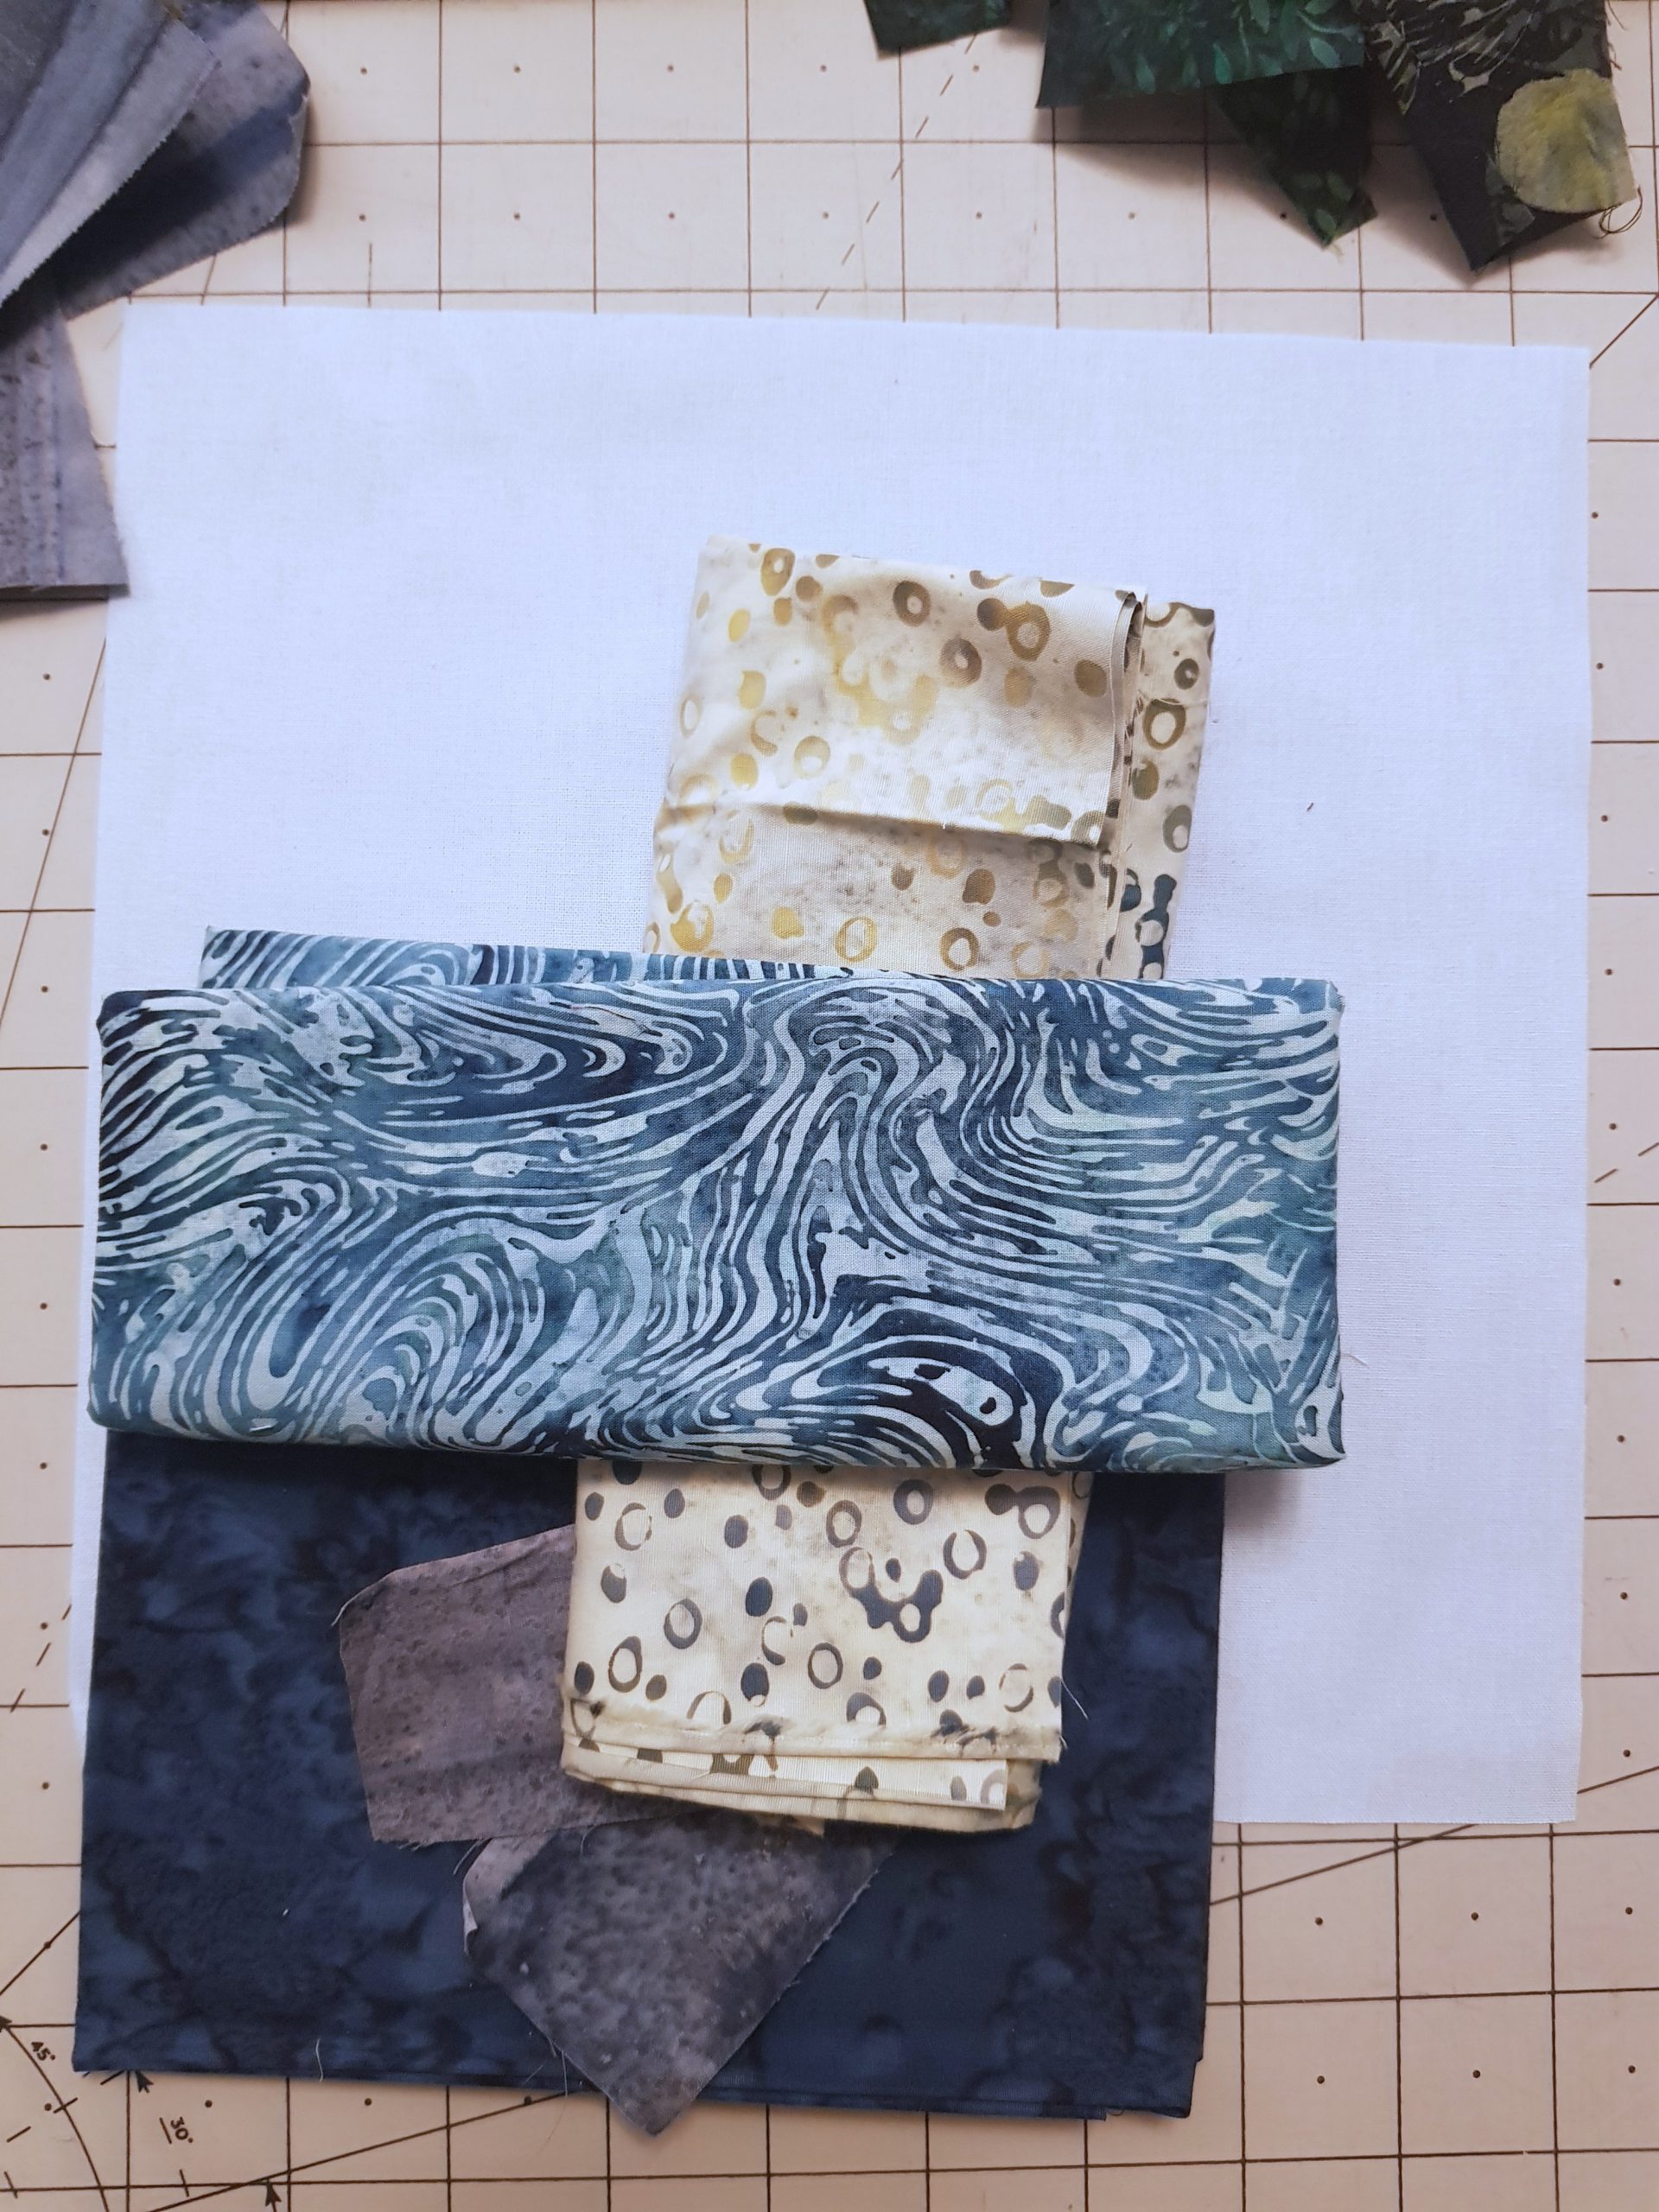
I go through my stash and pull out every fabric I own that is vaguely seal or sea appropriate.
After auditioning a zillion fabrics and not finding a combination I like I decide I clearly just don’t have enough fabric (spoiler: I most definitely do).
I reason that my stash must clearly be lacking in ‘natural muted colours’ and I obviously need to address this at the next quilt show (my overflowing fabric drawers and bank balance disagree strongly with this notion my fabric dragon however is ecstatic).
I go through all my fabrics again and finally find the perfect seal fabric in my scrap bag collection.
I celebrate my past self for having purchased such a handy scrap bag and call it a day with my choices happily together and waiting for me to start actually putting it all together.
24 hours later…
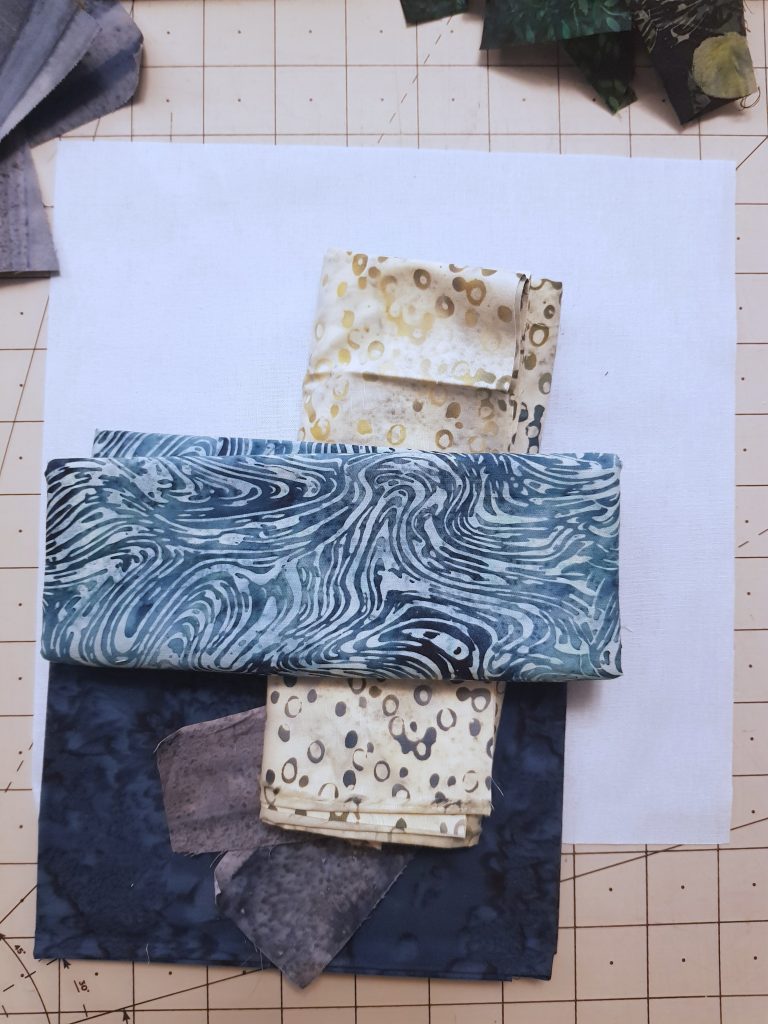
I take a fresh look at my fabric choices and decide they’re not quite perfect enough so spend another afternoon rummaging through my stash.
I discover at least three more grey fabrics that I’m sure will solve all my problems and get momentarily side-tracked by an entire drawer of gorgeous landscape batiks I somehow forgot I owned.
After auditioning the new contenders, and re-evaluating all my earlier picks, I eventually (and quite predictably) end up exactly where I started.
Sigh. But at least I finally made a decision (again).
Learning from my mistakes
Unlike in my previous applique project this time round I actually remember that transferring my design to heat and bond means it will be reversed.
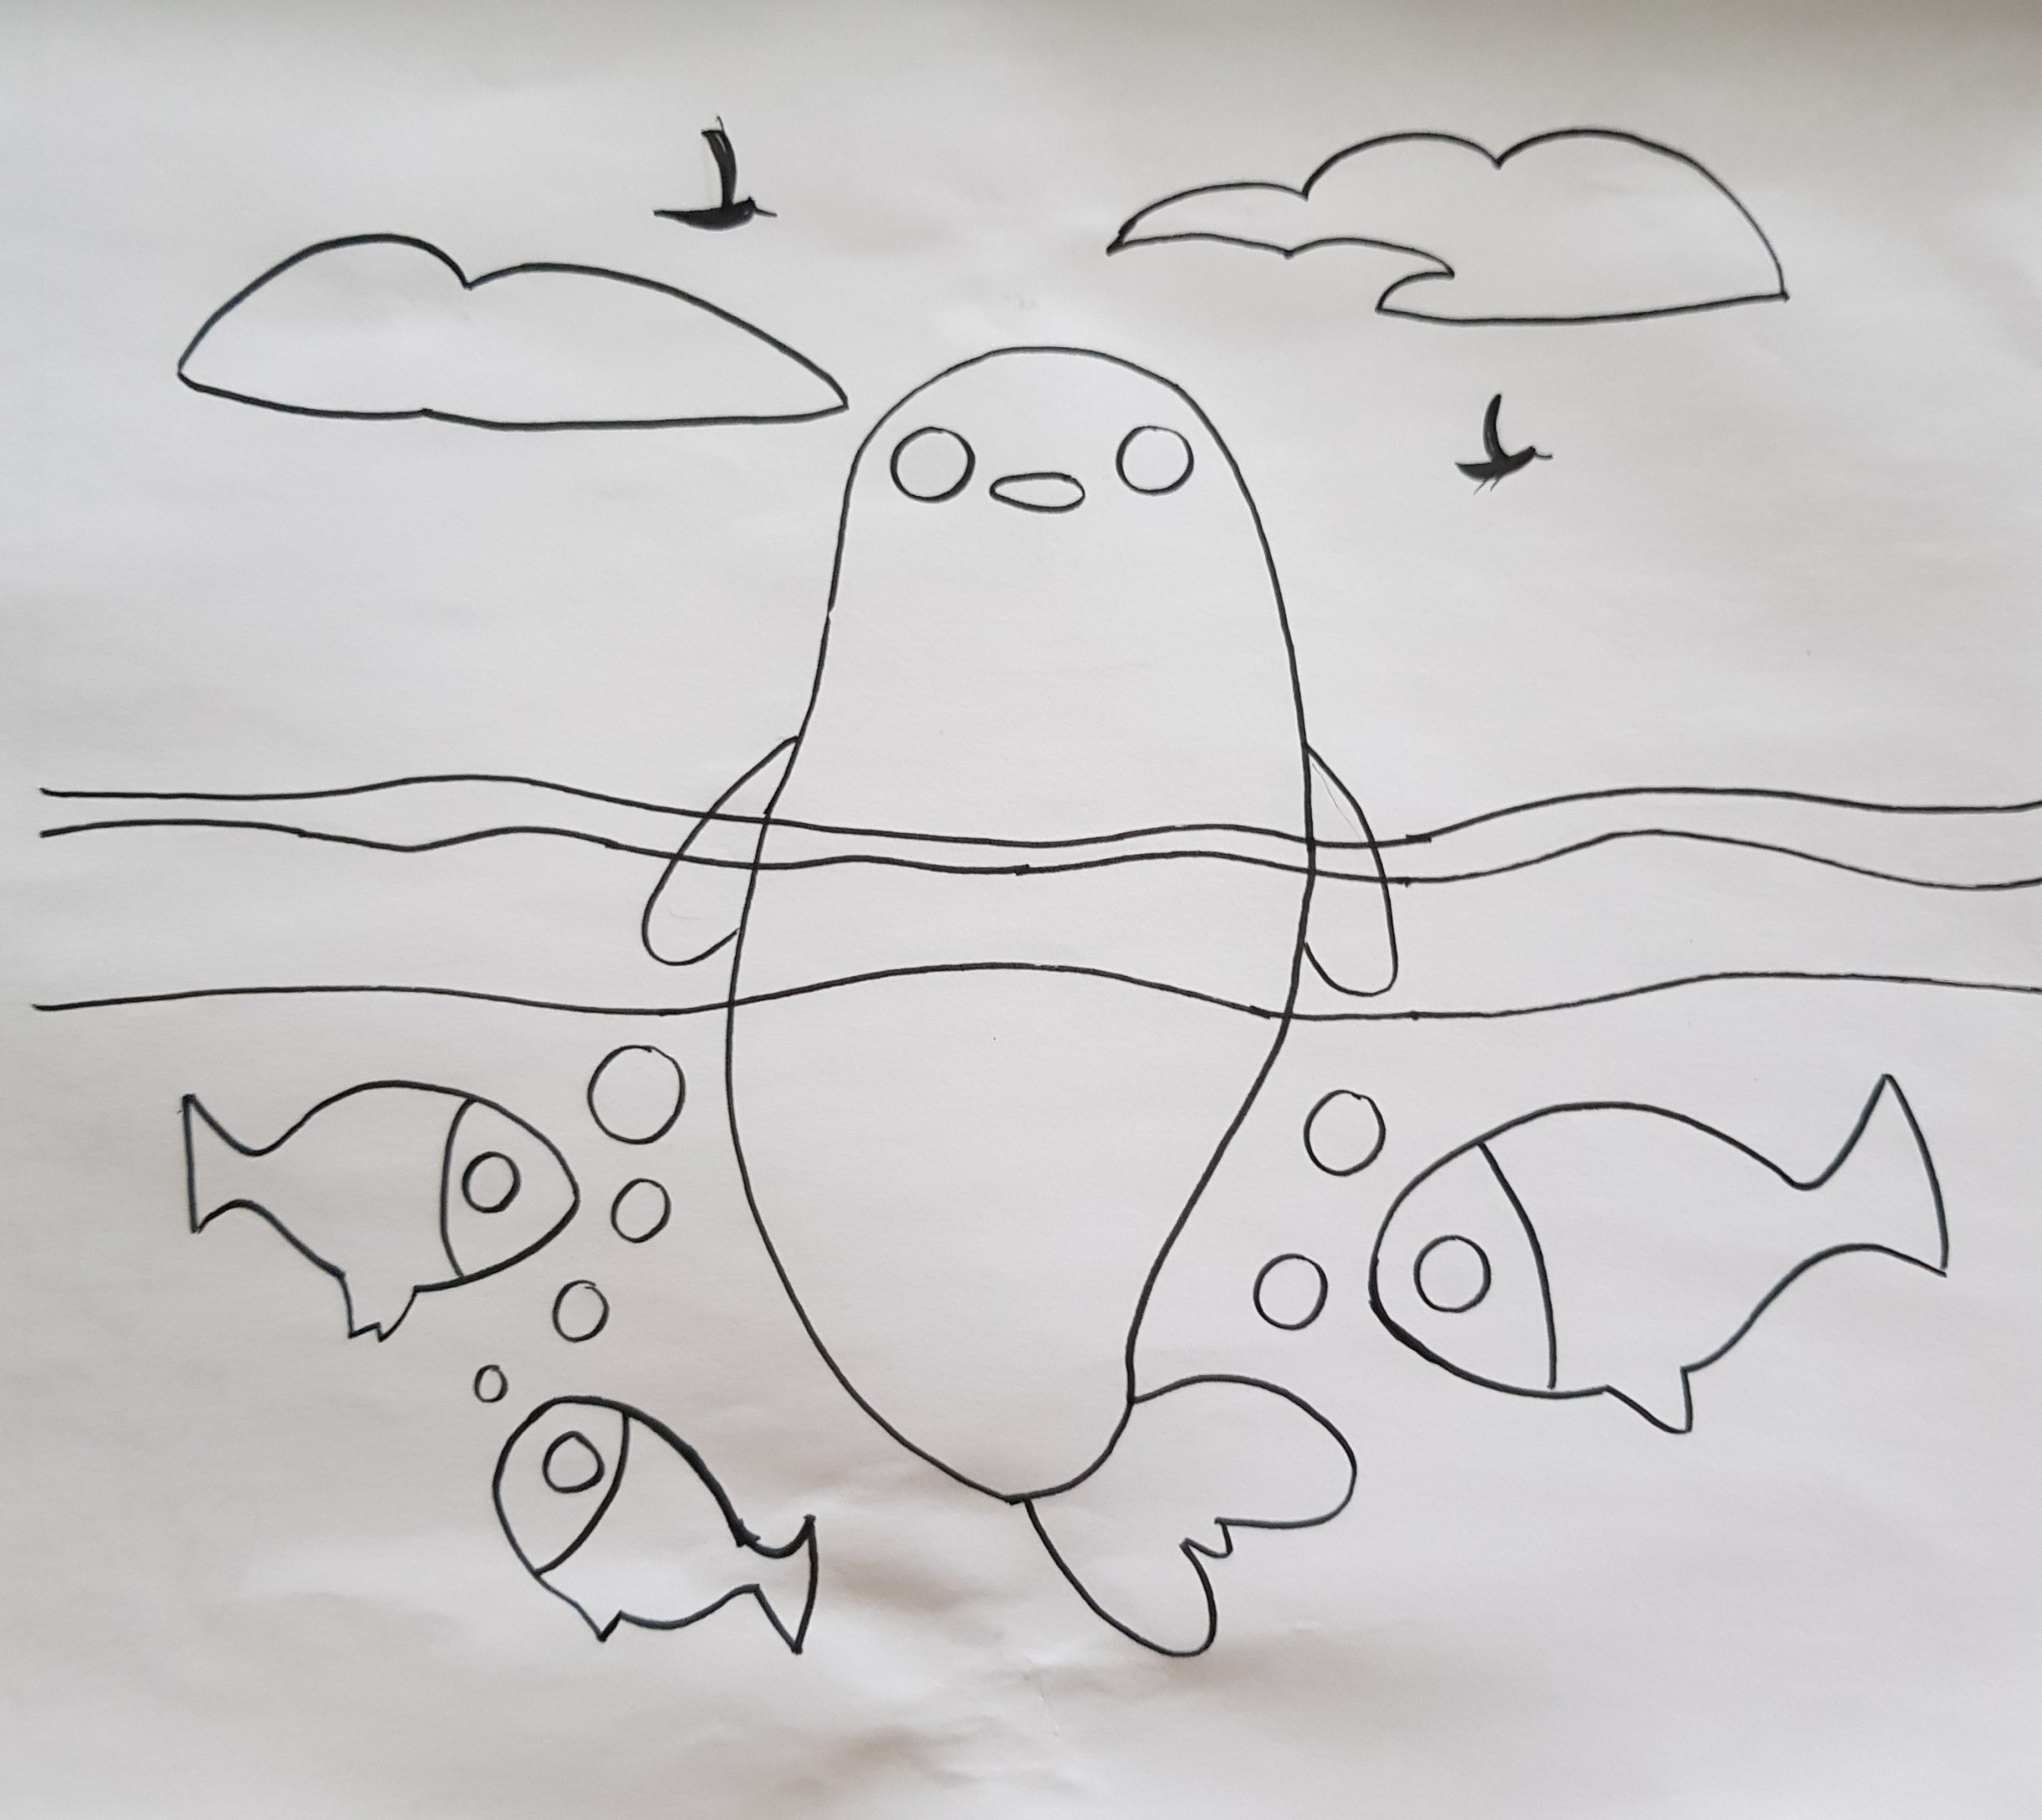
I take care to flip my design over and retrace the main elements of the image on the back with a dark pen to help me see what I’m doing.
I turn off my light box and childishly giggle at the outlines that have turned my cute seal into something that resembles a cross between a confused dolphin and a potato.
Stage Three: Actual Crafting
Making progress... kind of
Now I have my main fabrics chosen it’s time to actually do stuff with them.
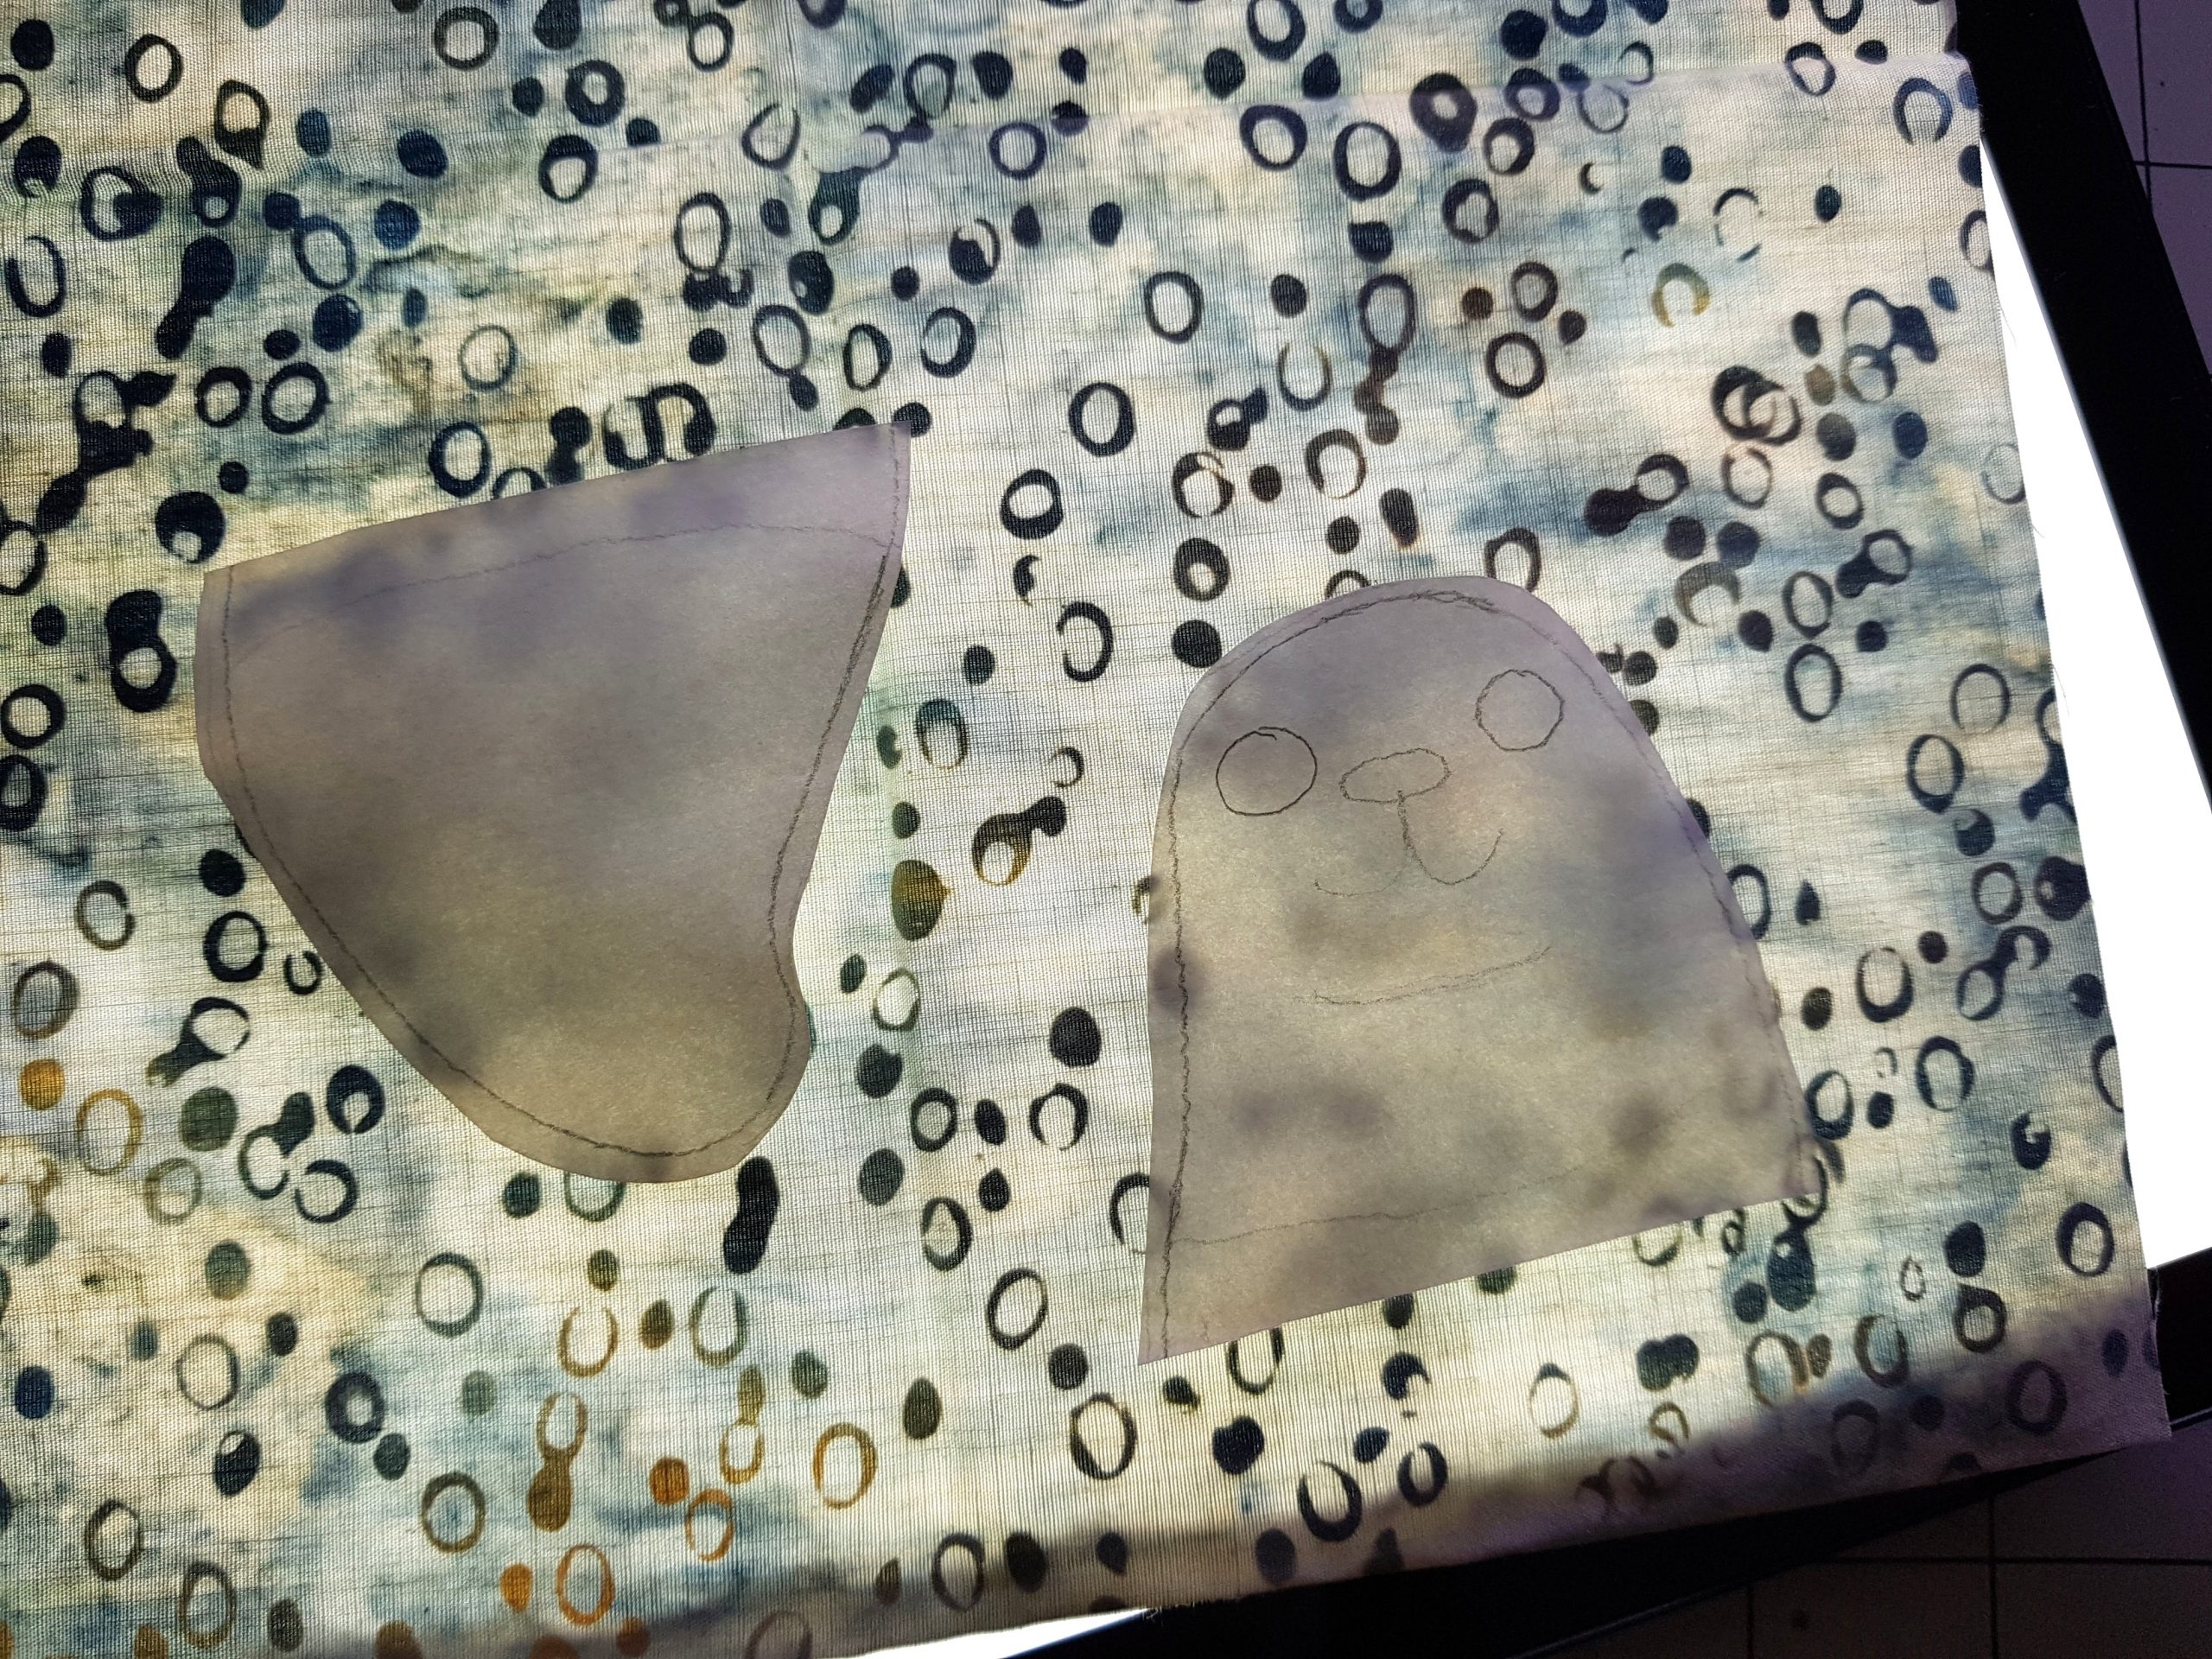
Using the incredibly handy light box (seriously – thank you past me for that impulse purchase) I trace the design for a 3rd time, this time onto heat and bond light, isolating the different shapes and attempting to group items by fabric.
All I have to do now is iron it carefully onto my chosen fabrics, simple, right…right?

Fussy Cutting Purgatory
Using the original image as a guide I knew I wanted my seal tail and head to be slightly different shades to recreate that ‘I’m below water’ vibe. Easy enough, I’ll just pick the perfect spot on my fabric where the batik’s wonderful variation works in my favour.
Que 15 minutes of moving my potato shaped seal around looking for said ‘perfect spot’.
Realising the dark dots are hard to avoid I begin to fear my ‘ideal seal fabric’ will result in the creation of a multi-eyed eldritch horror (much like this one midjourney created during my initial experimentation phase),
I decide mutated horror seal isn’t quilt the look I want to go for.
The other grey fabrics come back out and I again question my entire plan.
Eventually I see sense (aka loose all hope) and put them away again (by away I mean – in a big pile on my desk with all the other fabric I got out for this project but decided not to use and have kept out ‘just in case’ even though it is gradually taking over the entire workspace).
I decide to take drastic action and cut my seal in half and hope it forgives me and try again with my dotty fabric.
Quickly finding a good area for the tail I move onto locating a lighter area for the head. I toy with using the back of the fabric because it’s even lighter. A cunning plan I think.
I pick up the iron and instantaneously forget said cunning plan and attach the heat and bond to the wrong side.

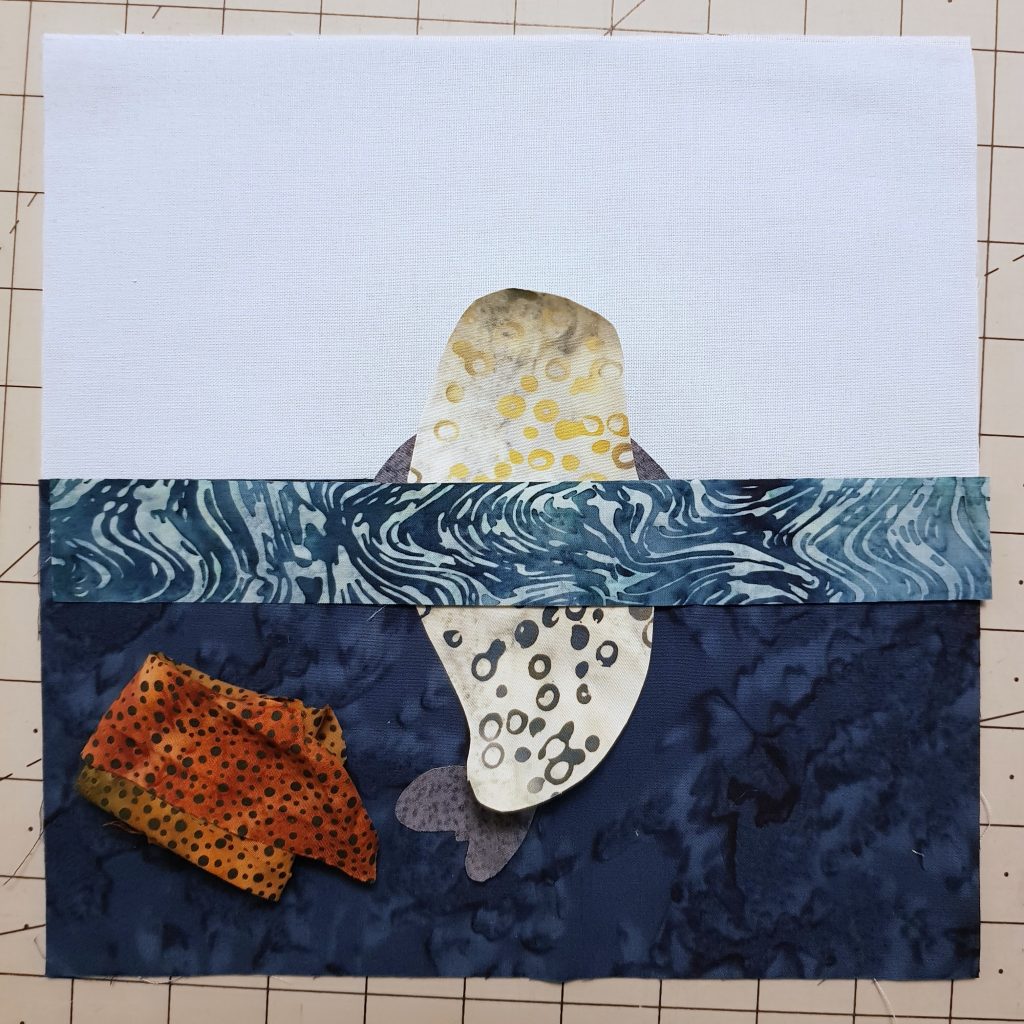
It's coming together
After my seal body experience it’s a delightfully easily to stick my heat and bond to the grey flipper/tail fabric and cut my rectangles of sea and waves.
I decide not to use heat and bond on the big sea piece and figure some glue can hold it in place until the other layers go on. I’m not sure if I will regret this.
Still have to shape my wave and find a narrow band for the top (to recreate the layered effect from the inspiration image) but even so I can’t resist but to lay it all out and admire my potato seal so far…
….and I instantly question my seal fabric again and the yellow head spots and wonder if I should start over.
Attempt instead to make yellow part of the colour scheme by adding tropical coloured fish instead of the silver ones I’d planned,
Lament my existence and contemplate how I maybe I should have just done the whale.
Stage Four: Quilting
Try not to ruin it with terrible free motion quilting